
Making a cake without a cake board just would be right! It would be like a putting on your clothes without any underwear and that’s just not right! Cake boards are very simple and yet very important to the structure of your cake. In order for your cake to be stackable, you have to have each cake tier on sturdy cake boards.

So when it comes to buying the cake boards, it can get a little pricey. I’m very cheap so I’m always looking for the best cheapest option when it comes to making or buying cake board.
Every time, I always come out cheaper making them. It may be a little time-consuming, but if you make them in advance, you’ll be able to build up a huge inventory of them.
The materials are very cheap, you can purchase one foam board for the price of $.88 at Walmart and a roll of tape for $.76 at Walmart as well. To be exact, you can purchase all of your materials for around 10 bucks. With that small investment you can make up to 5 cake boards depending on the size that you make them.
Now these won’t be any flimsy cake boards, they will actually be very sturdy. They’re sturdy enough to hold a 4 tier cake. I’ve made them for several events, including weddings and birthday parties and have not had any complaints. So I’m thrilled to show you all how I make my homemade cake boards.
Materials Needed:
- 1 Foam Board
- Scotch Clear Tape
- Fancy Foil
- 1 cake pan (used to trade the circle)
- Pencil
- Xacto Knife
Tracing the Circles:
To begin, you will start by flipping the Cake Pan over, on top of the foam board to trace a circle. It’s really your preference on how large you want the cake boards to be.
Depending on the size of the cake, if it’s a 6-inch cake, I will usually use a cake pan the 1 inch smaller in diameter so that the cake board will not be too big for the cake around the edges. But if you’re just making a cake board for decorative purposes I tend to make it 2 inches larger than the tier that’s going to be sitting on it.
So for example, if the cake tier that’s going to be sitting on the cake board is 10 inches, I will make the decorative cake board 12 inches wide in diameter. I do this so that I will be able to add decorations around the border of the cake.
Cutting Out the Circles for a round Cake Board:
So once you have the size that you want to make the cake board, now you can place the cake pan on top of the foam board and trace the cake pan with a pencil.
I like my cake boards pretty thick so I will usually trace out three circles. After you’ve traced 3 circles, you can now cut out the circles with the Xacto Knife. When cutting out the circles, It’s best to cut it slowly because the Xacto knife is so sharp that it may make a cut into the circle and can cause you to have to start all over again.
Another important factor to cutting it slowly is so that you will have a smooth round edges and a perfect circle. This is very important for when it comes to covering it with fondant.
If you have jagged edges around the cake board, it may cause the cake to look weird and be pretty difficult to cover up. Now that you have cut out the three circles of foam board, you will put all of them together and tape the edges together so that you will now have one big circle instead of three.
At this point you can cut out a circle in the middle of the cake drum if you will be needing to place a dowel down the middle of your cake. This is important for stacking your cakes.
Covering the Cake Boards:
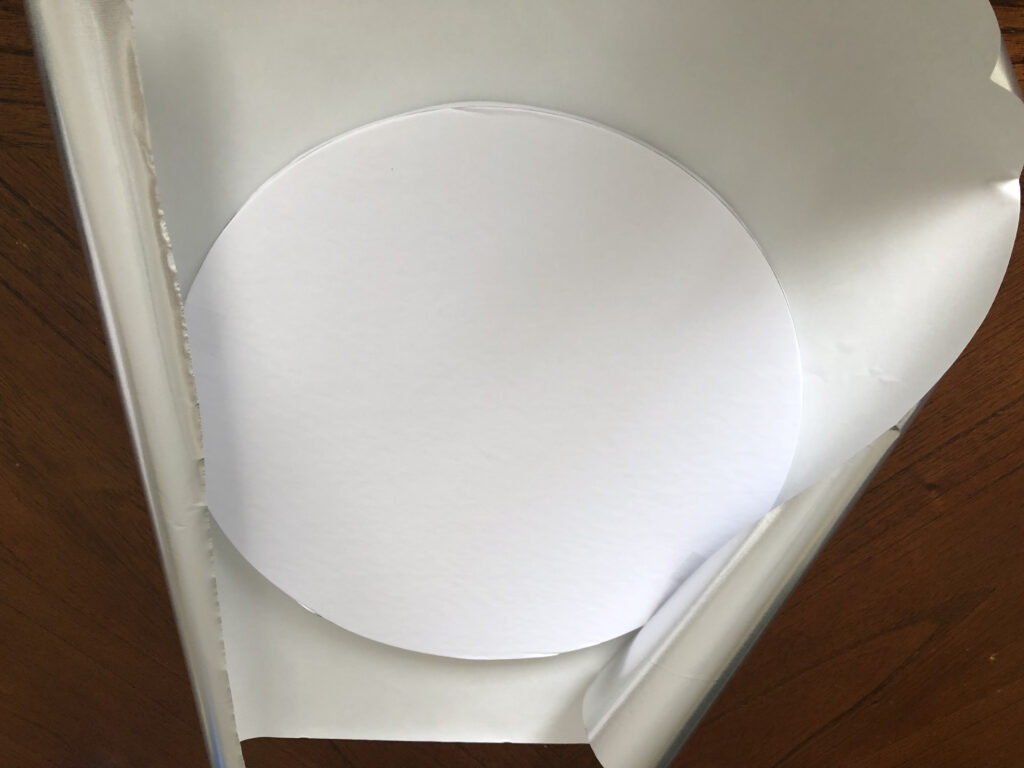
Now roll out the Fancy Foil so that it’s enough to cover up the edges, I will usually cut three inches of extra fancy foil around the edges so that I will have more than enough to fold over the edges of the cake drum/board.
Once you’ve cut the fancy foil, take a piece of tape, fold the tape so that it’s double-sided and tape the back to the cake board to the white side of the fancy foil. This will help to keep it in place as you’re folding the fancy foil over the edges of the cake board.
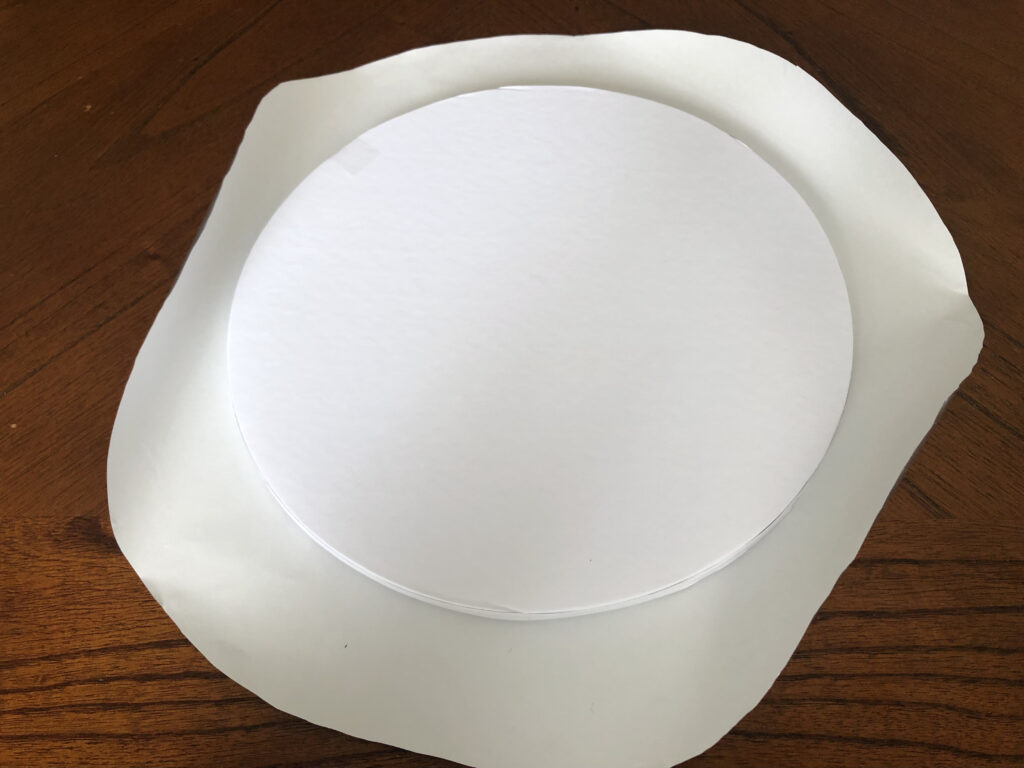
At this point you’re almost to the finishing point. Now you will make pleats as you’re folding the fancy foil over the edges. I like to tape it down as I’m going along and making the pleats around the edges.
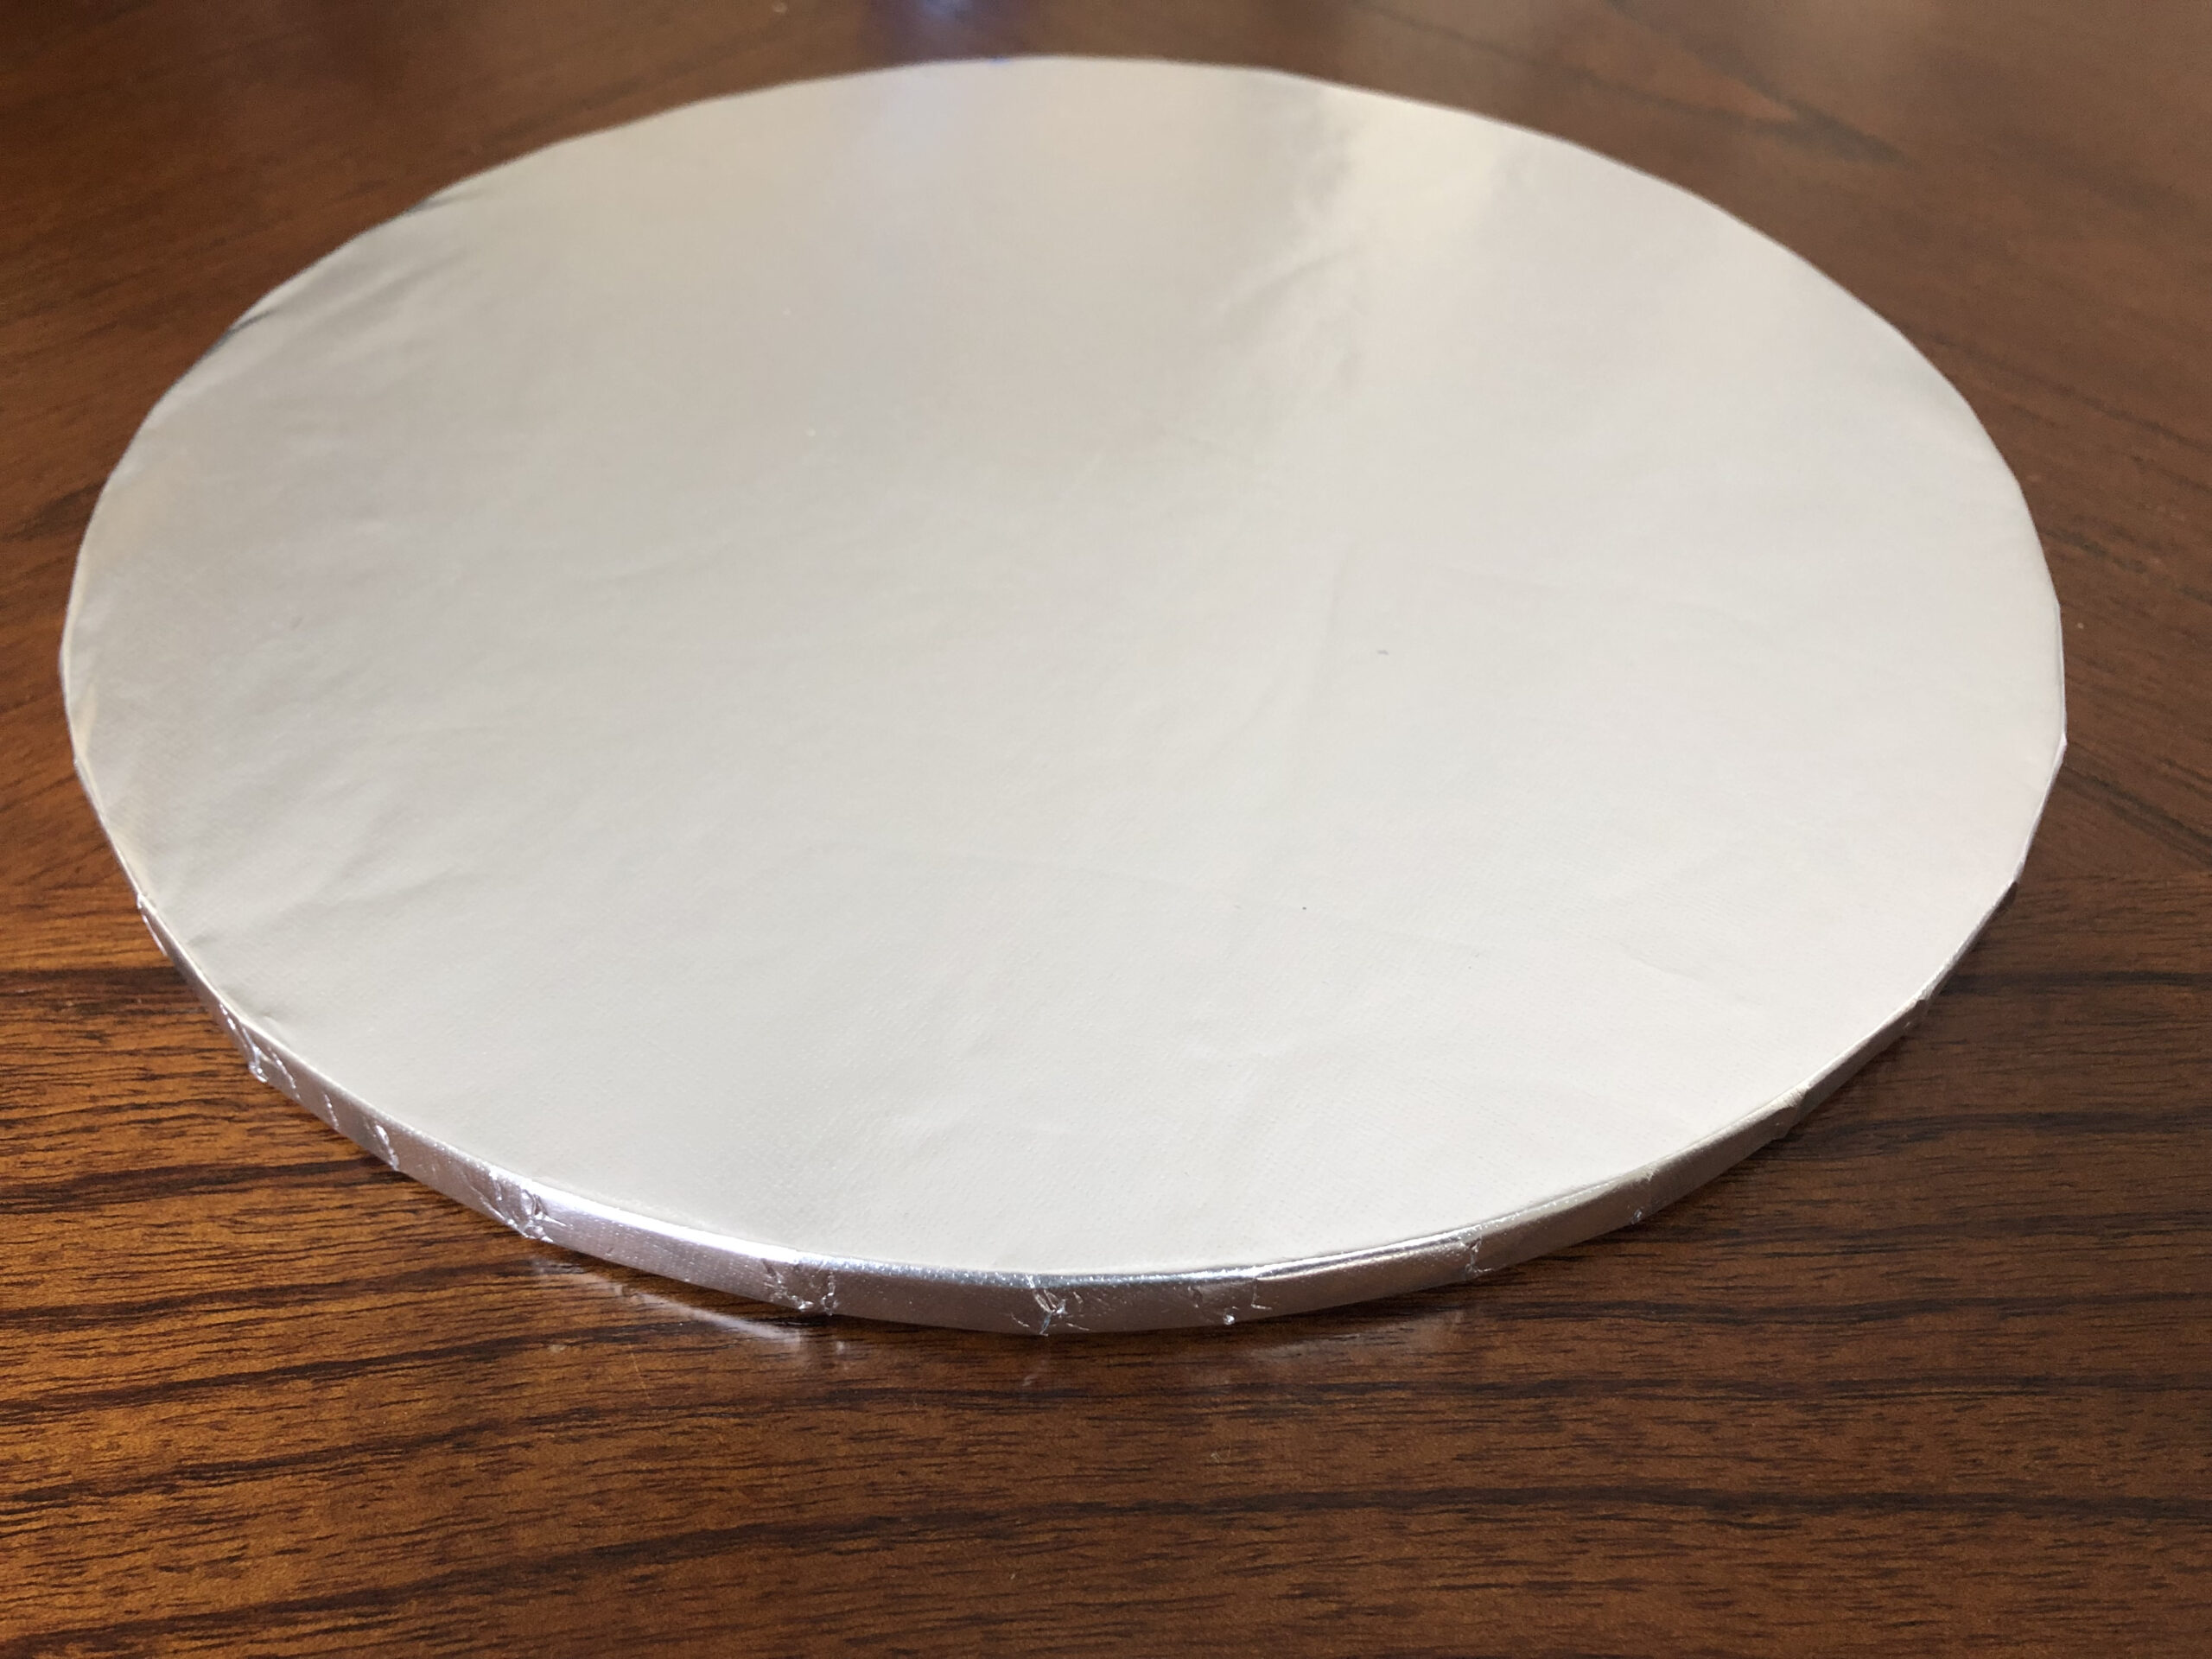
This helps me to keep it from unraveling and staying in place. Also remember to turn it as you’re folding the fancy foil over the cake board so that it’s not too hard to do. Once you have finished taping the fancy foil around the edges of the cake board, press the edges in so that none of the foil is sticking out.
An easy way to do this is to sit the cake board up on it’s edge and roll the edges against a table or a hard surface, pretty much like you’re steering a steering wheel, back and forth so that the edges are flat.
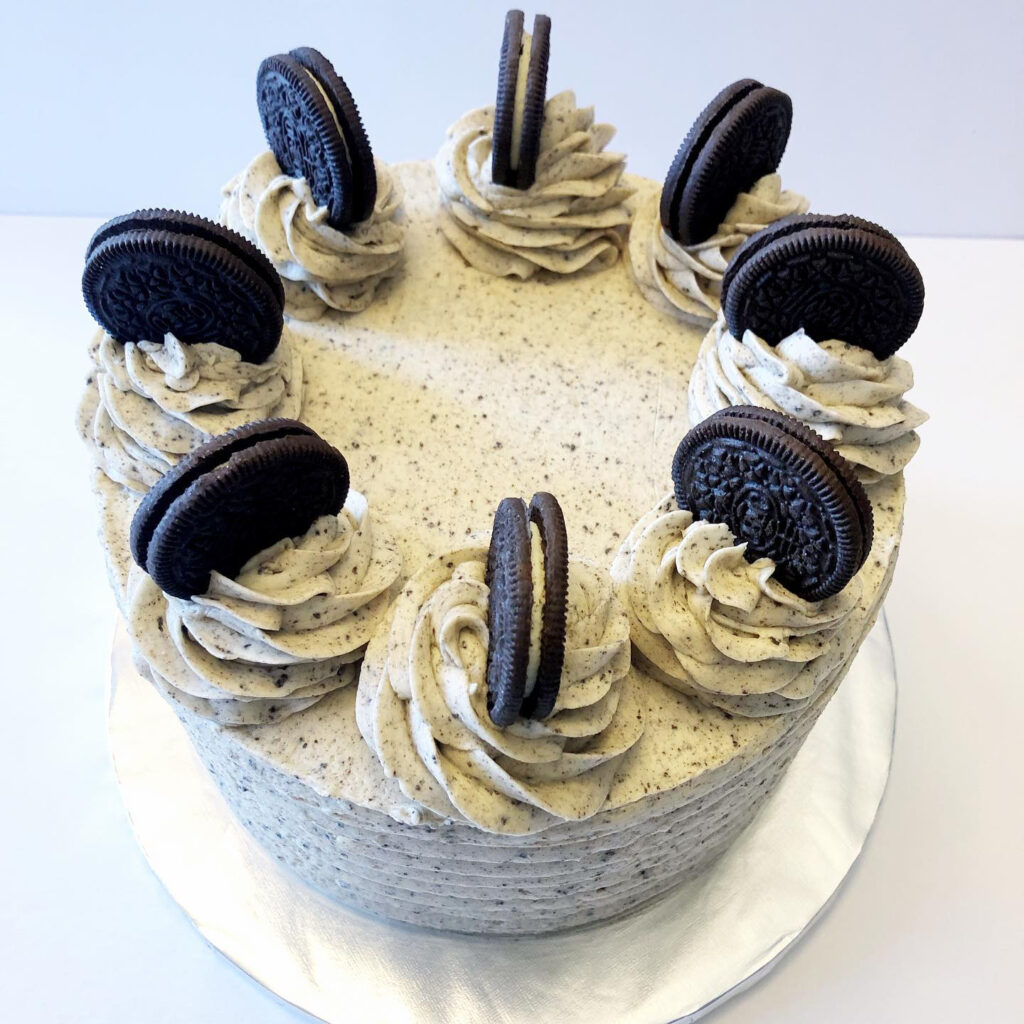
You Made a Cake Board!
Great News, you’ve just made a cake board. I love making them and the great thing about it is, you can make so many for a fraction of the cost. I will usually just spend one whole day dedicated to making foam boards because I love having them on hand and it helps to speed up the process of making cakes.
I’ve made several of them over the coarse of the years from square to circle, to oval. You can also decorate them with ribbon and fondant as well. They’re really sturdy as well and I believe you will be satisfied with these homemade cake boards.