
Ribs are super delicious. The thought of making an actual cake look like a rack of ribs blows my mind. I always love to see how people can create cakes that look so real to the point you can decipher if it was food or cake. If you’re one of those people who would love to see how that’s done, then you’re in the right place. In this tutorial you will not only learn how to make a rack of ribs cake, but how to make it look realistic too. You only need a few necessary tools to get the job done.
Tools Needed:
- Blow Torch
- 2 layers of cake or 2 inch thick layer of cake
- Brown Fondant
- White Fondant
- Strawberry Syrup
- Chocolate Syrup
- Honey
- Brown Sugar
- Cake Spatula
- Carving Knife
- Painting Brush
- Extruder
Step 1:
In this step you will be creating the shape of the cake. I highly recommend freezing the cake before carving because a soft cake will crumble as you’re carving it. To make the shape, it’s really helpful to either look at a picture of a rack of ribs or actually purchase a plate of ribs to use a guide for carving the cake. As you’re making the shape of the rack of ribs cake, it’s best to keep in mind that ribs are not too bulky. They are very meaty, but not bulky. The top part usually is curved instead of flat so it would be best to round off the top, while making the sides straight and flat. That is usually where the bone sits in between the meat.
Step 2:
After getting the shape of the cake together, you will then crumb coat the cake. This step is very easy and will take at least 30 minutes to crust over. This step is very important for creating structure for the cake. It would truly be a waste of time carving the cake, only for it to loose its shape after covering in fondant.
Step 3:
This step is very fulfilling. In this step you will start to see the cake come together. Using brown fondant, roll the fondant to where it’s thin, about the same thickness of a slice of bologna. If you want it to be thicker, that works as well. I like for my fondant to be rolled out thin so that it’s not too thick and bulky. I also think that the thicker the fondant is, the cake will not look as realistic. Once the cake has been fully covered in brown fondant, you will now move on to making the bones that stick out of the ribs. To make the bones, you will roll out a piece of white fondant. Cut the fondant into tiny squares and glue them to the cake using water or edible fondant glue.
Step 4:
In this step you will mainly add the details to the rack of ribs cake. First you will start by smoothing out the crevices and making the edges near the bones sharpe. If you were referring to a picture or an actual rack of ribs you would see that the left and right sides are sharp. Next, you will use a blow torch to create the burnt and bubbly look as if it was cooked on a grill. I recommend turning the torch on a low setting and torching the fondant in sections to avoid burning the fondant and destroying the cake. As you go a long, you will see the fondant start to bubble and crust over which is great because this is the look you want to go for. After you’ve got the look you want for the rack of ribs cake, last but not least you will add the bbq sauce to the cake.

Now you will add “bbq sauce” to the cake. I’m not talking about actual bbq sauce because that would be pretty disgusting. But this sauce looks like bbq sauce but tastes like Neapolitan Ice cream. So if you love Neapolitan, then you will enjoy this sauce! You will simply use 3 ingredients to make the sauce and 1 for the seasoning. First, you will begin brushing brown sugar on to the cake as if it was the seasoning. I only used about 1-2 tablespoons of brown sugar because a little goes a long way. Next, you will add equal parts (1/4 cup) of honey, chocolate and strawberry syrup to a bowl and stir together. This will act as the bbq sauce. Using your brush, begin brushing the bbq/sweet sauce on to the cake.
Step 5:
Side Note:
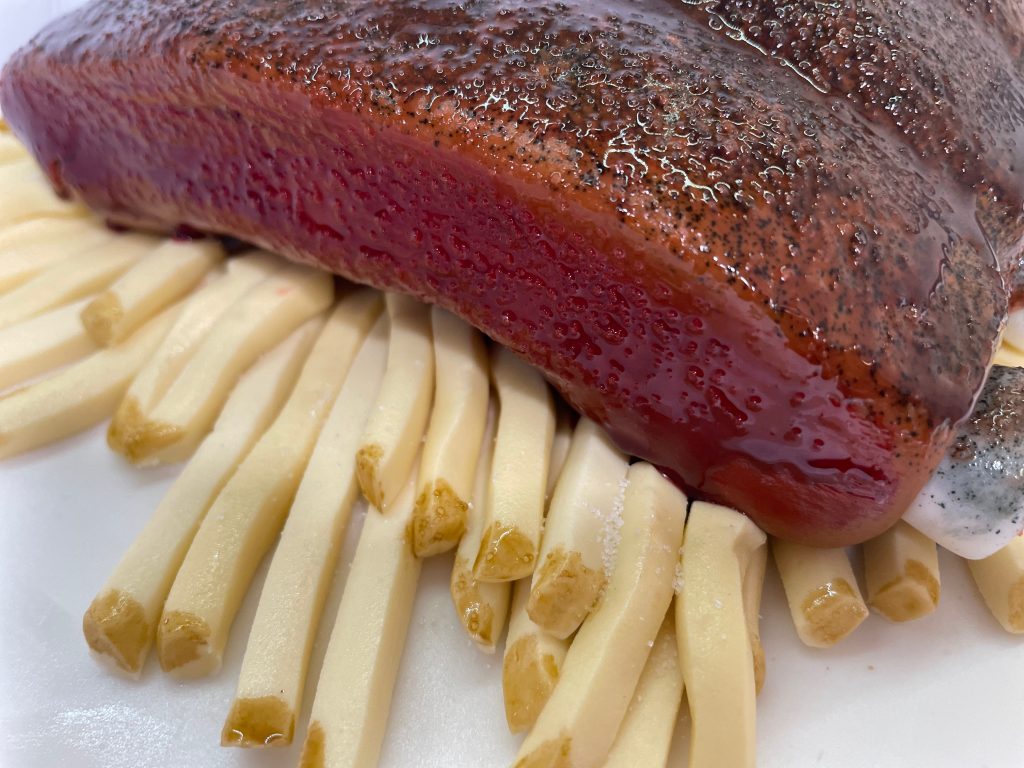
The fries are really simple to make. It only consists of coloring the fondant with a tiny spec of brown and yellow fondant. This will create the color of fries. Next you will roll the fondant into the shape of a square and simply cut strips of fondant. A easier way to make these fries would be to use an extruder. The square template works best for getting those perfectly shaped fries.
Keep in mind that all of the fries do not have to be the same length because french fries come in different lengths. After cutting the fries, you can then paint the tips of the french fry brown. This will make them look as if they just came out of the deep fryer.
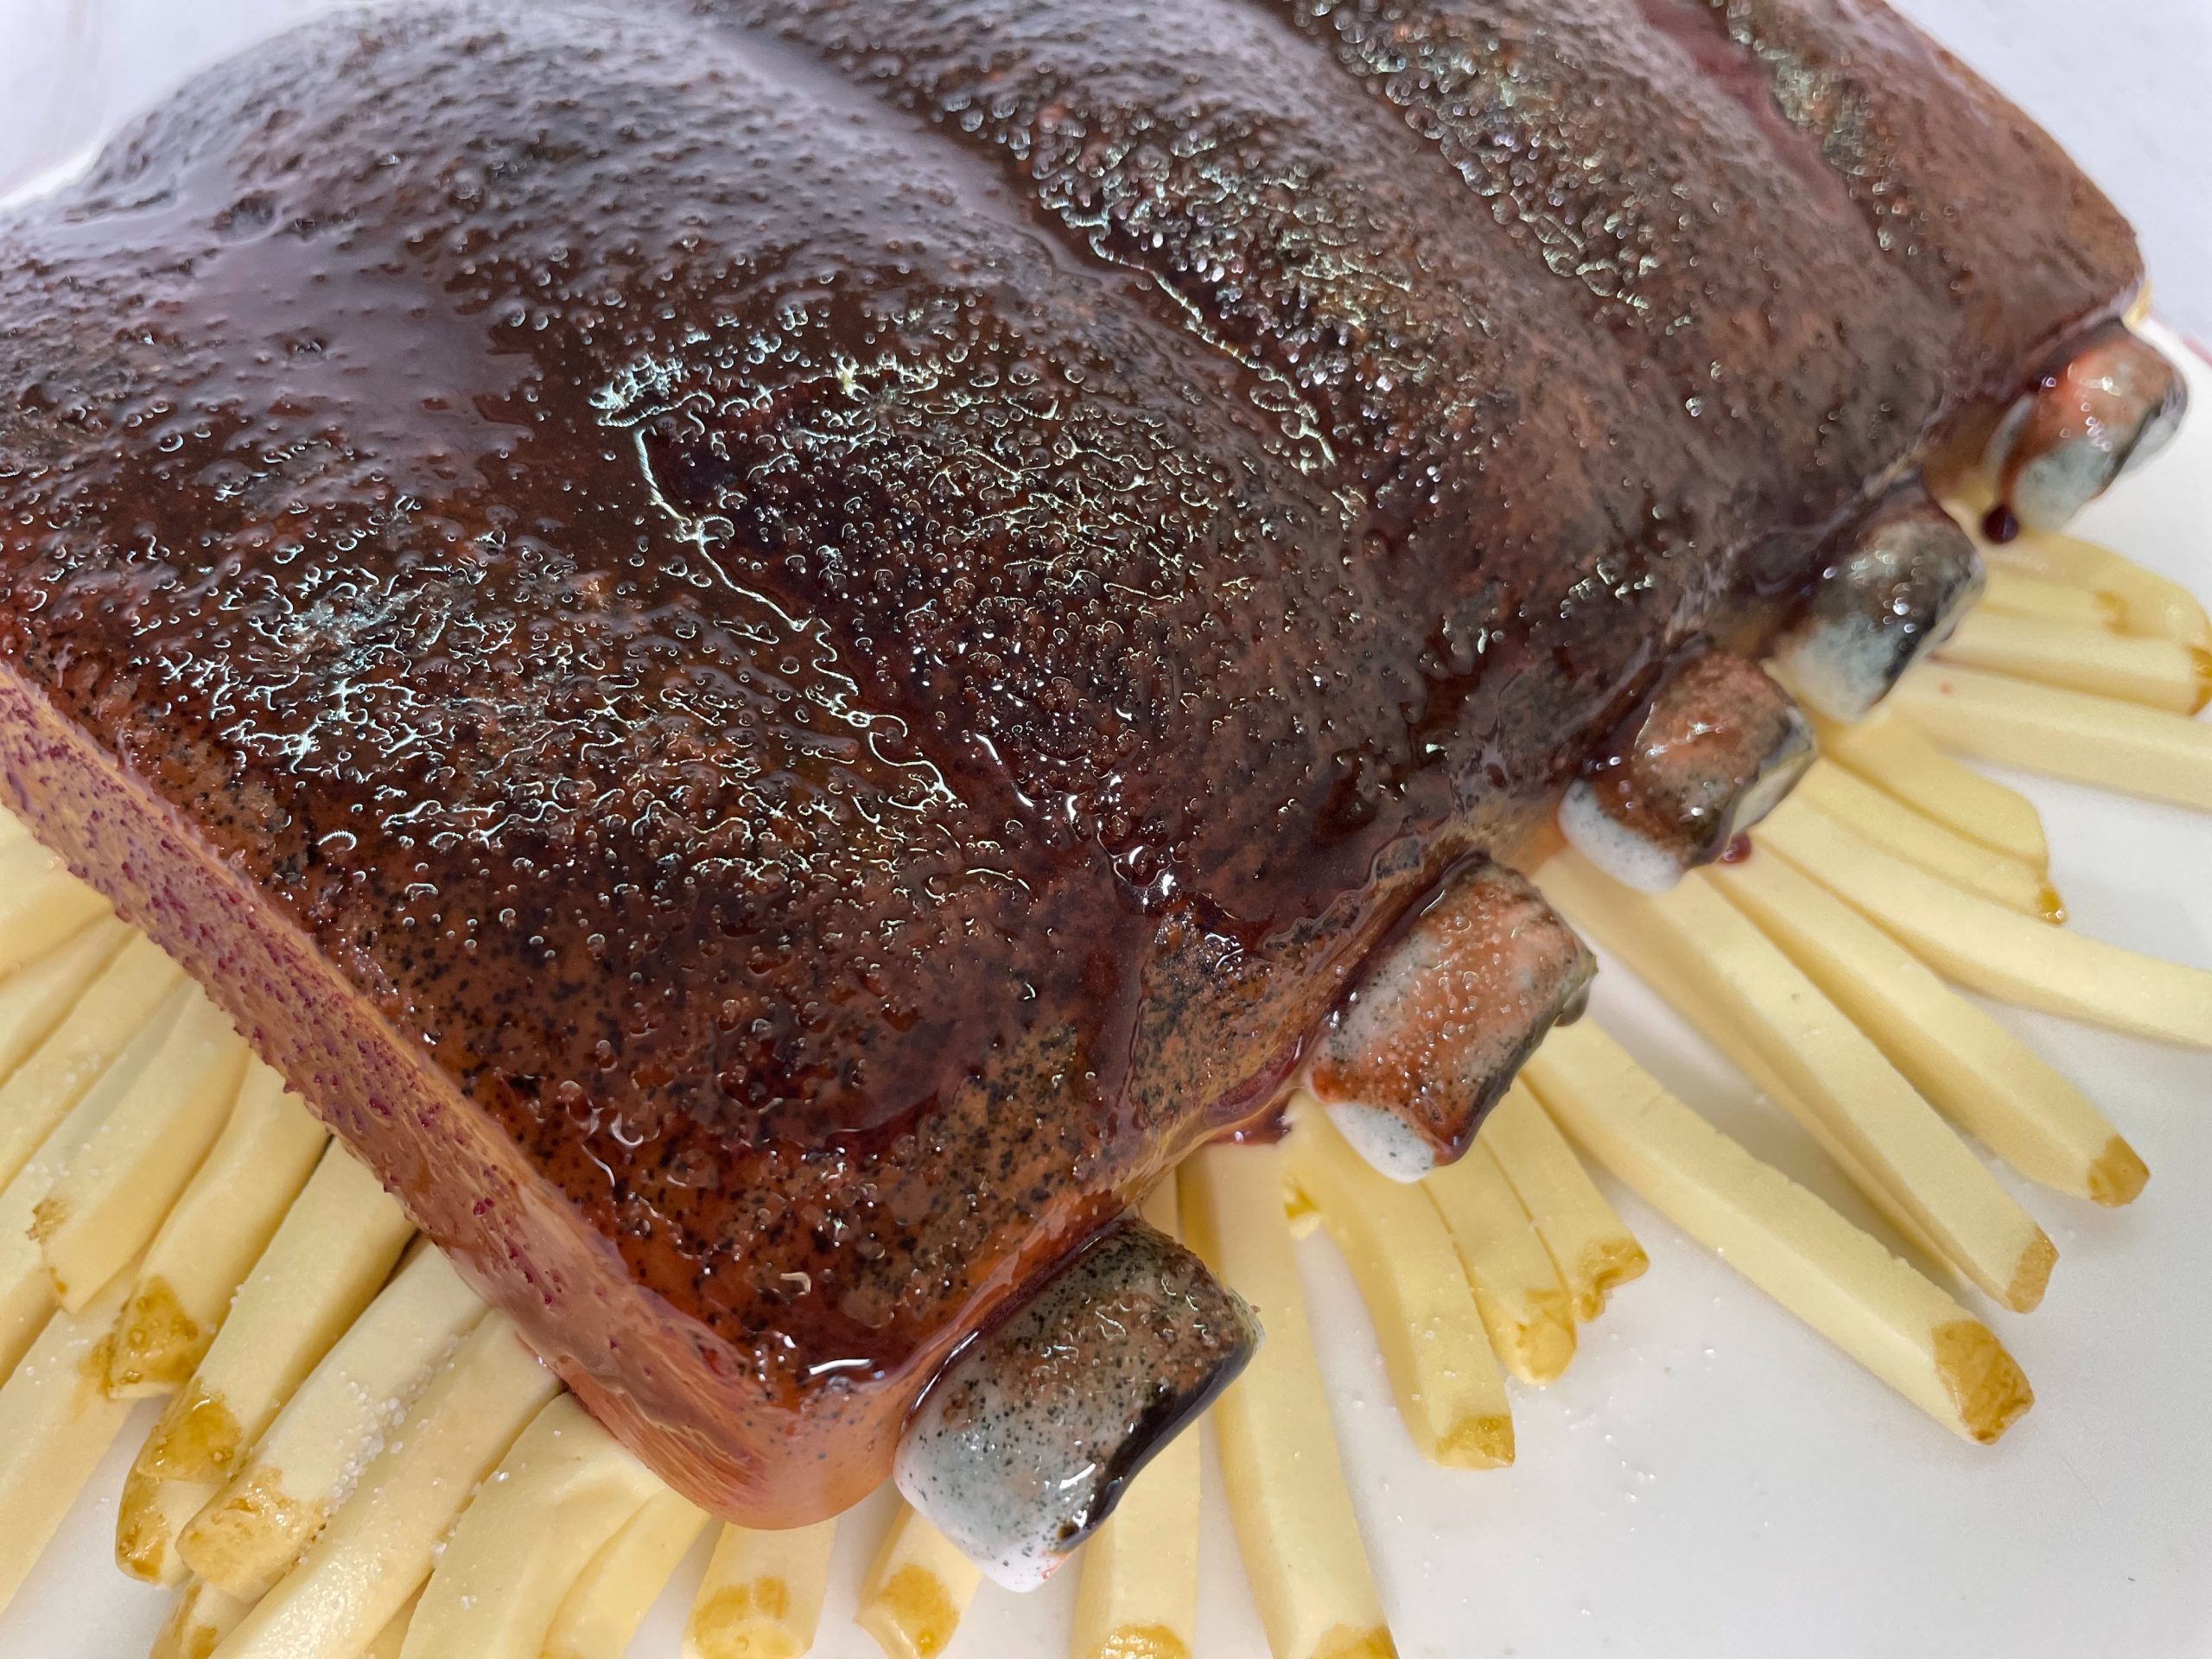
The Final Look:
I hope that this tutorial was super fun and has been an overall success for you. This would be an amazing cake to bring to a family cookout and will definitely have all of your guests shook up about it. Please make sure to check out the video in this post. For those of you who are visual learners, this will surely help in seeing how every step comes together to create the final look for this cake. Please let me know your ideas and how this tutorial has worked for you. Thank you for checking out this post.