
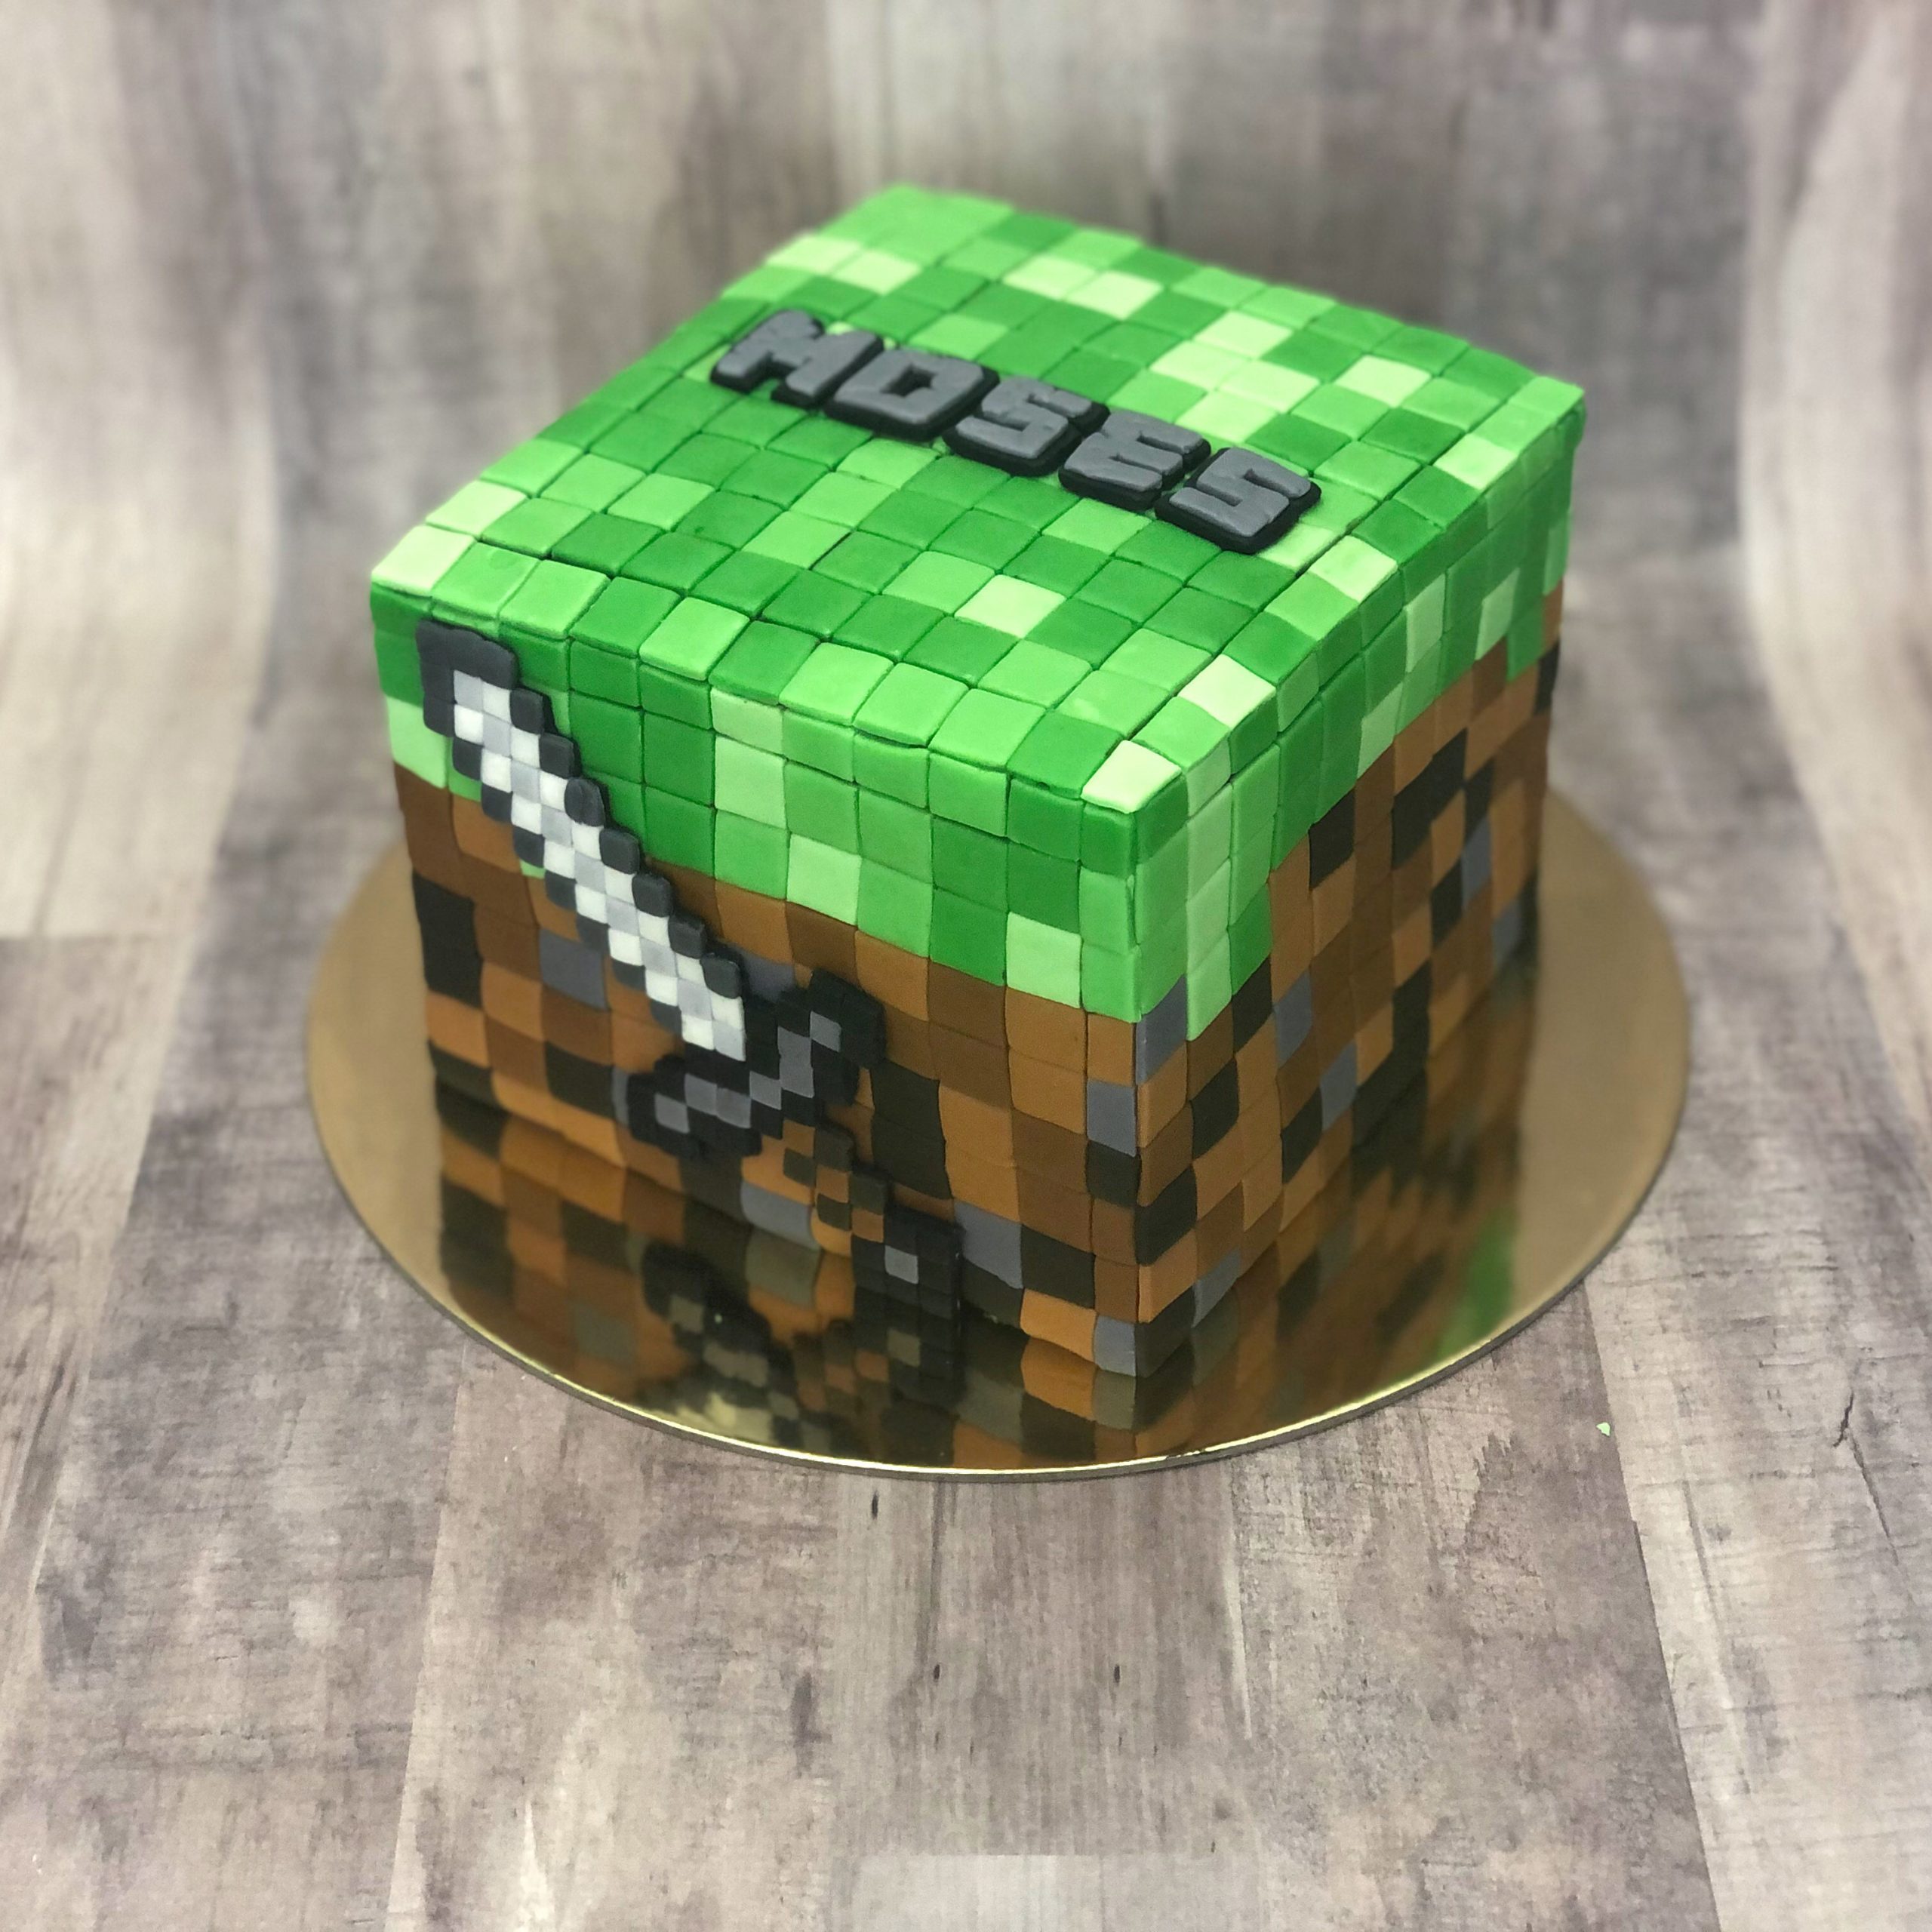
In this tutorial, I’ll demonstrate how to create an impressive Minecraft cake in just five simple steps. Despite its stunning appearance, this cake doesn’t require any specialized techniques. However, I should mention that it can be a bit time-consuming to make. Therefore, please ensure that you have plenty of free time on your hands as you’ll be cutting squares of fondant for an extended period!
Step 1: Getting a Perfectly Square Cake
As we’re all aware, Minecraft involves arranging blocks in various configurations to build structures, tools, and even food. Therefore, when creating a Minecraft cake, it’s ideal to strive for a perfectly square shape. Achieving this can be accomplished using one of two methods.
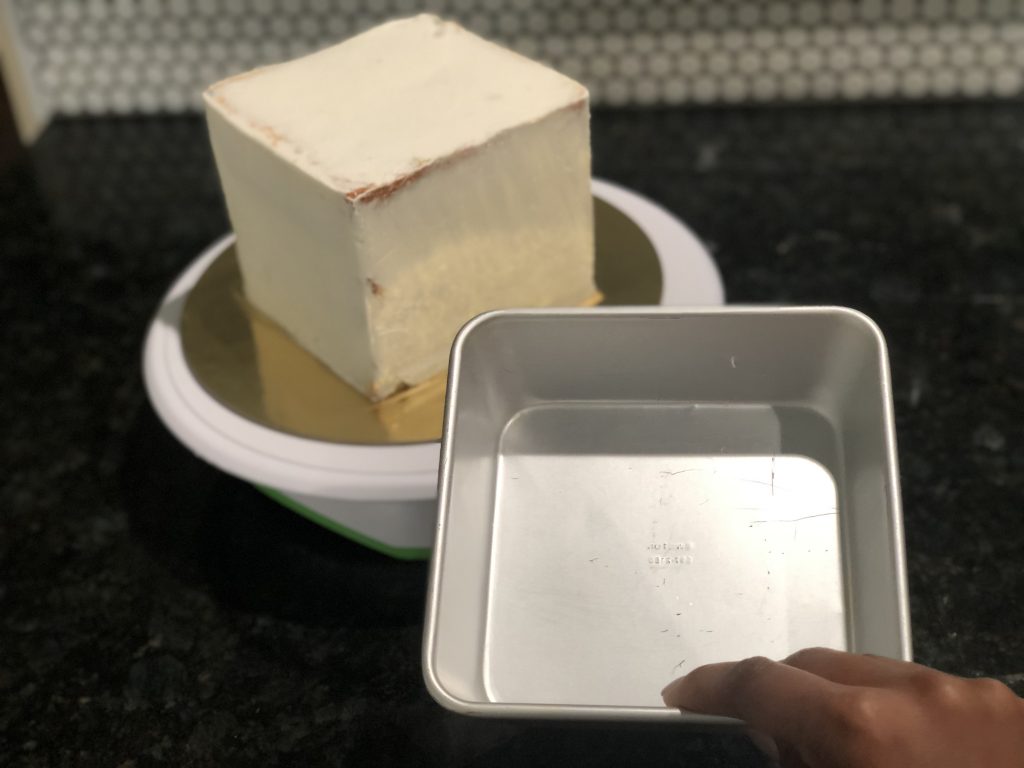
The most straightforward approach to creating a square cake is to use a baking pan with sharp edges. This method eliminates the need for carving the cake, which can be time-consuming and prone to mistakes.
Step 2: First Layer of Fondant
With a perfectly square cake in hand, it’s time to prepare it for the fondant layer. For this step, you have the option of crumb coating the cake with either buttercream or ganache. Ganache provides a sturdier surface, while buttercream is more resilient in extreme temperatures. Therefore, keep this in mind while preparing your cake.

Once you’ve completed the crumb coating process, which involves applying two layers of buttercream or ganache, it’s time to add the fondant to your cake. If you’ve opted for ganache, spread a thin layer of shortening on the cake to facilitate the fondant’s adhesion.
Although it’s not mandatory, I highly recommend this step. Without the outer layer of fondant, the buttercream or ganache may become soft and seep through the cracks of the fondant squares, which is not desirable. So, take my advice and don’t skip this step!
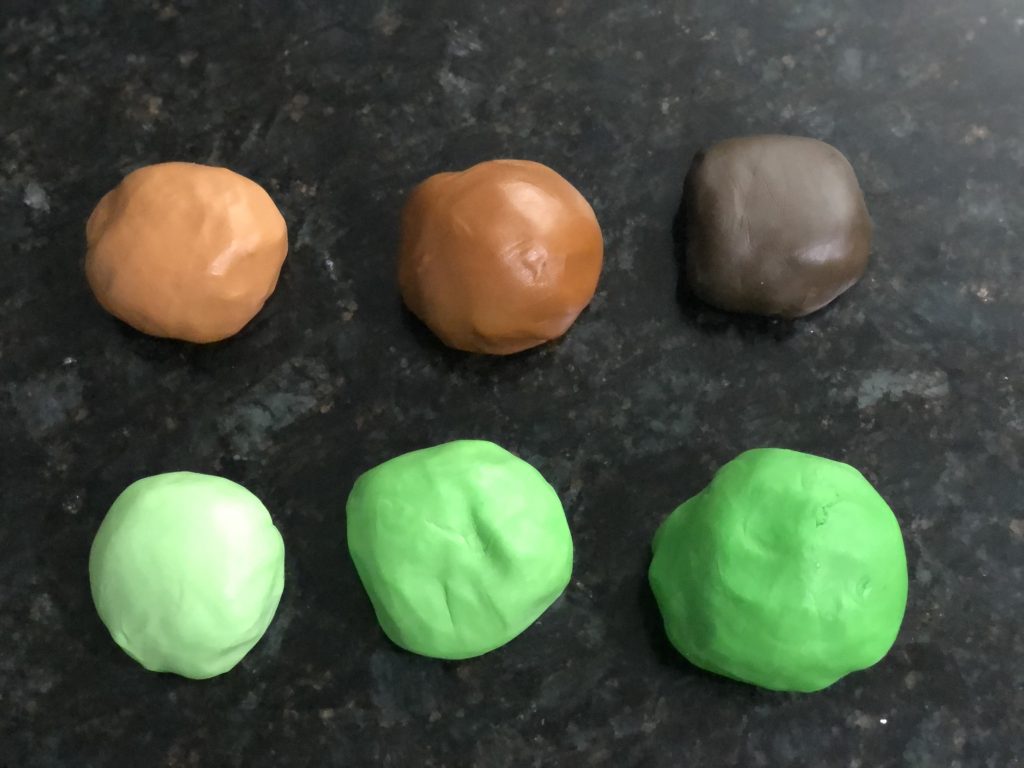
Step 3: Prepare each Color
Once you’ve applied a thin layer of fondant to the cake, it’s time to prepare the various colors for the squares. For my Minecraft cake, I utilized six different colors, including gradient shades of green and brown.
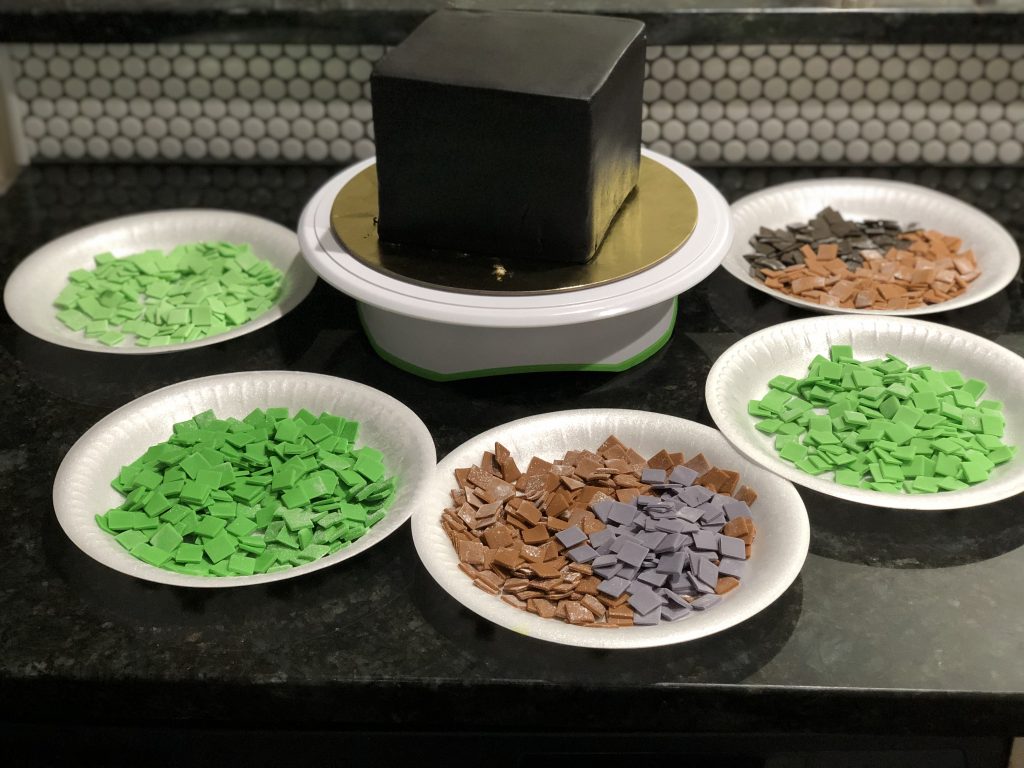
Step 4: Making Mini Squares
This step is uncomplicated but extremely time-consuming. Personally, I used square plungers to ensure that the squares were perfectly shaped. However, I’m confident that other products are equally effective and enable you to cut out multiple squares simultaneously.

Step 5: Completing the Cake
For the final step in this tutorial on how to make a Minecraft cake in five simple steps, it’s time to place the squares onto the cake.
To attach them, I used water. However, if you prefer not to use water, edible glue is an excellent alternative. Beginning with brown squares to represent dirt and progressing to green squares for grass, I arranged them as closely as possible to prevent gaps between them.
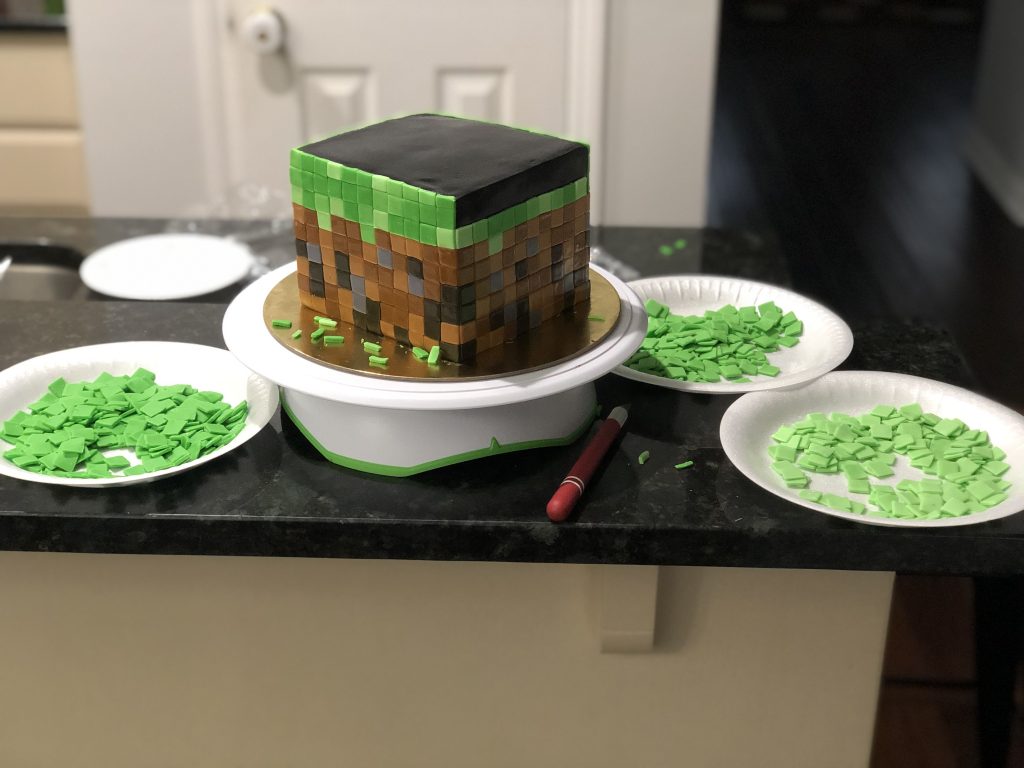
Doing so also conceals the fondant underneath the squares from view. As you can see, this is a straightforward process that doesn’t demand an excessive amount of attention to detail.

I trust that you enjoyed this incredibly simple and enjoyable tutorial on creating a Minecraft cake in five easy steps. Additionally, I’d appreciate hearing how this tutorial has helped you and any cool or useful tips you’ve discovered that make this process even more straightforward. Thank you for visiting SNS Cake Bakery’s Tips and Tricks!