When it comes to planning a wedding, it can be very stressful. Even having to pay for all of the expenses that come with it can make you loose your mind. One of those large expenses would be your WEDDING CAKE.
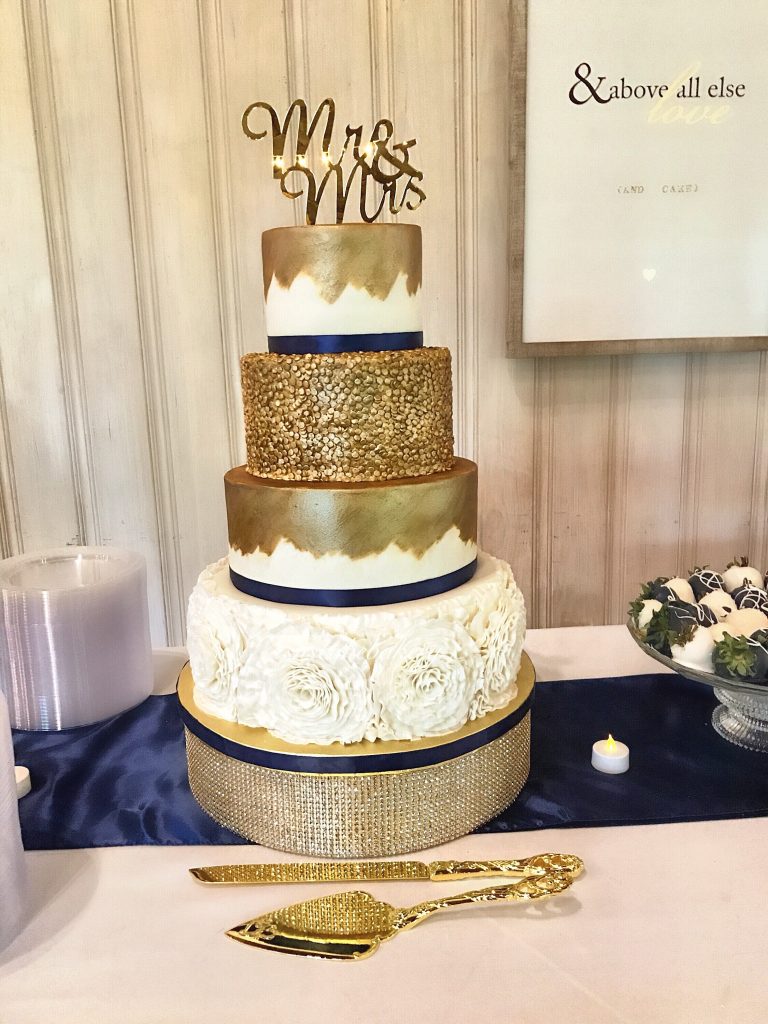
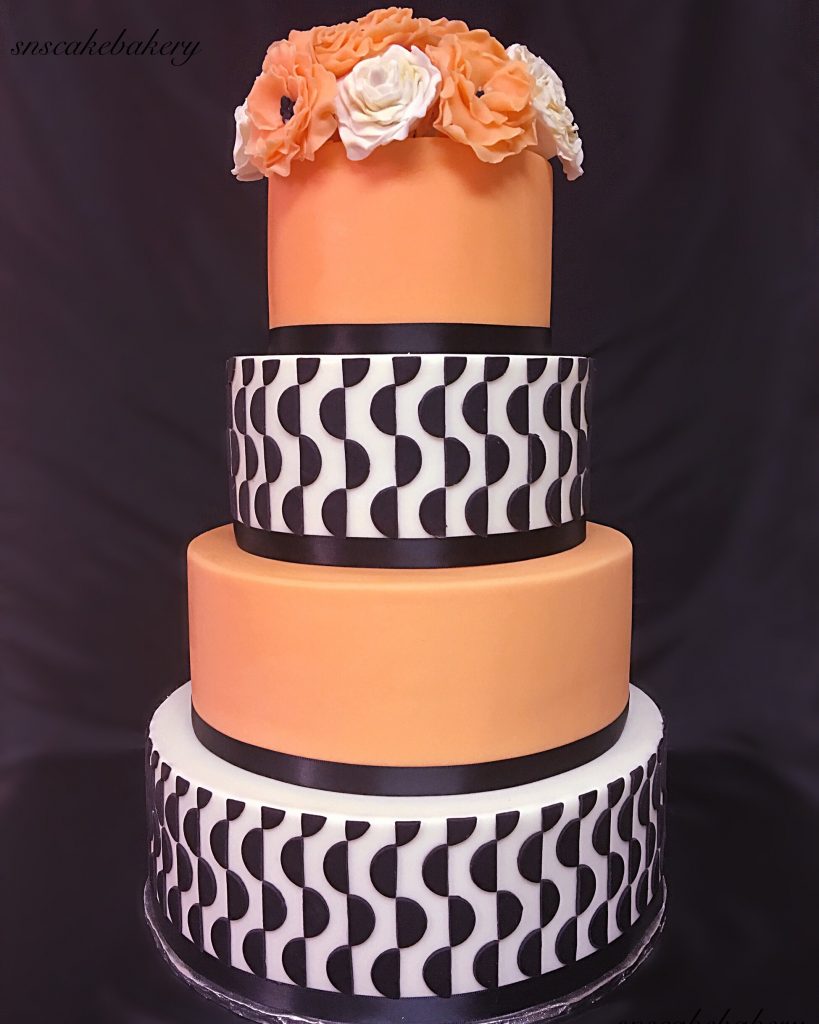
Wedding Cakes are so beautiful and grand that they absolutely have to make a statement at any wedding.
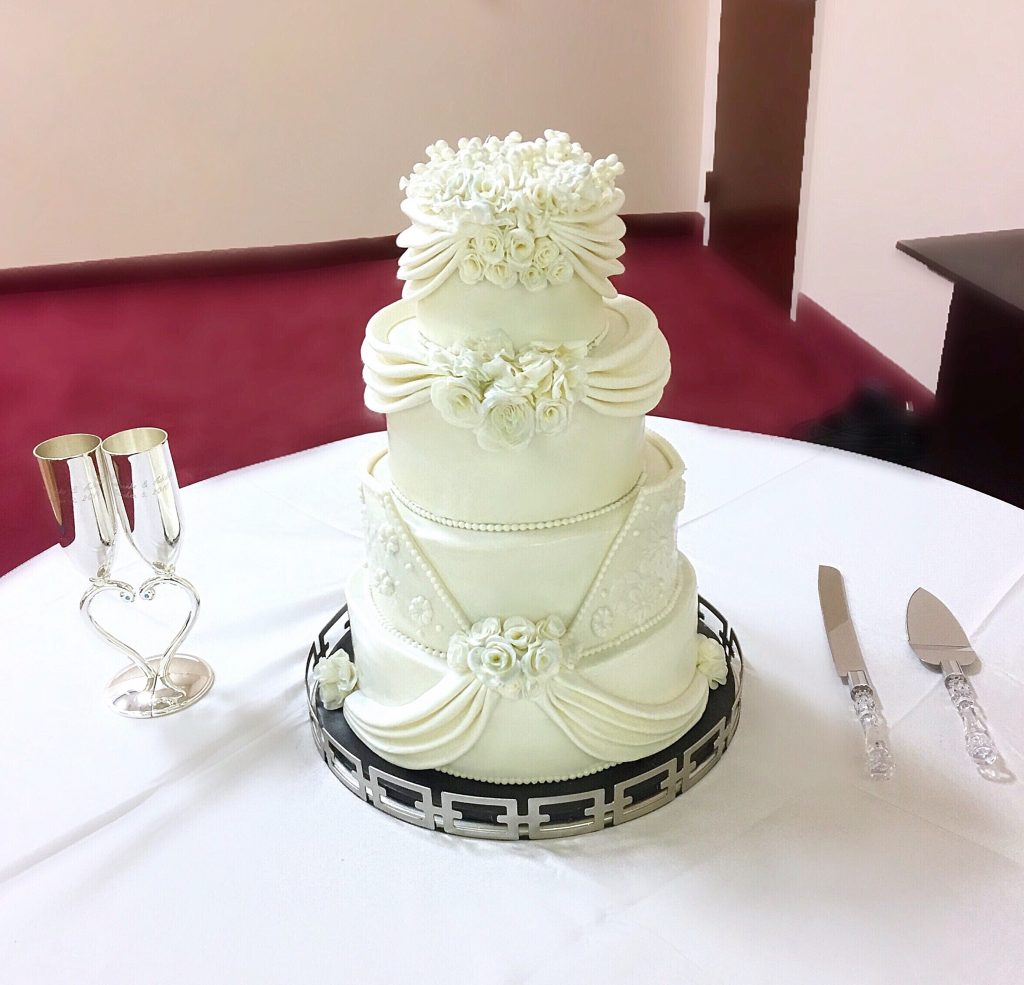
They can be simple with frosting and light decorations, decorated to imitate the brides dress, or completely over the top with beads, metallic colors, and spacers to add height to your cake.
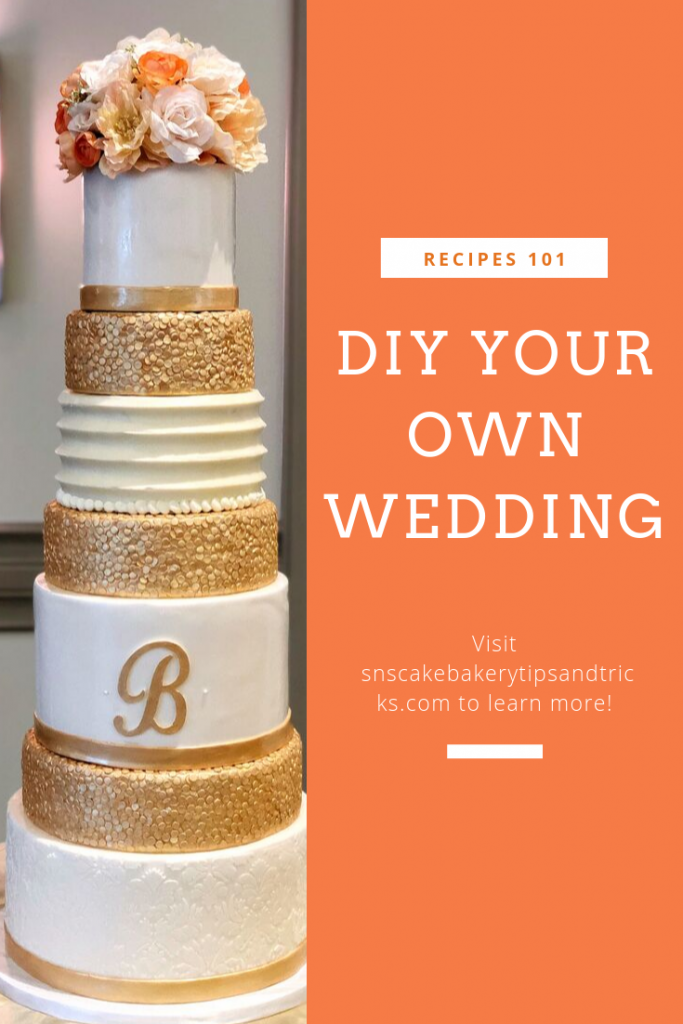
When it comes to the costs, wedding cakes can sometimes absorb a lot of money. But with this tutorial you will see how to make your own wedding cake for a fraction of the costs.
I highly recommend practicing at least three times before making your actual wedding cake because there’s so things that you will learn a long the way and I’m a firm believer that practice make perfect.
Choosing a Design:
The first thing to do when making any cake is to decide on the design of the cake. Figuring out the design of the cake initially will help you to properly plan out the process of making that cake and what specific materials you will need in order to prepare this cake.
After deciding on the design of the cake, next you will need to find out how many people the cake would need to feed. This will help you to decide on which size cake pans you would need to use in order to feed everyone that is on the RSVP.
You will definitely want to make sure that you have the accurate amount because it would be pretty horrible if there wasn’t enough cake for everyone at the reception. Not to be rude, but unfortunately the cake is really what everyone has their minds on after the bride and groom have said their vows to each other.
The last part of planning is choosing what flavor to have for your wedding cake. I highly recommend that you will have an idea of where the reception will be held, wether it’s indoors or outdoors because this can ultimately affect your cake. You will need to be aware of the weather conditions because if it’s very hot out side, cream cheese frosting and chocolate ganache would not hold up well on your cake.
Practicing using an actual cake:
So now that you have decided on the design, the venue, and the flavor of the cake, now you can begin practicing on your wedding cake. Depending on the design that you have chosen, you will need to gather all of the necessary tools for this job. The list can go on for this step because if you have several textures on your cake, then you will need certain tools to get the job done. As for the basic tools to use to prepare your cake, here is what you will need:
Basic Tools Needed:
- Cake (your choice of Flavor)
- Frosting (your choice of Frosting)
- Turntable
- Carving knife
- Cake leveler
- Icing Spatula
- Cake Scrapper
- Cake Board (for each tier and 1 large one for the bottom)
- Fondant (Optional depending on cake design)
- Cake dowels
- 1 large cake dowel (for center of cake)
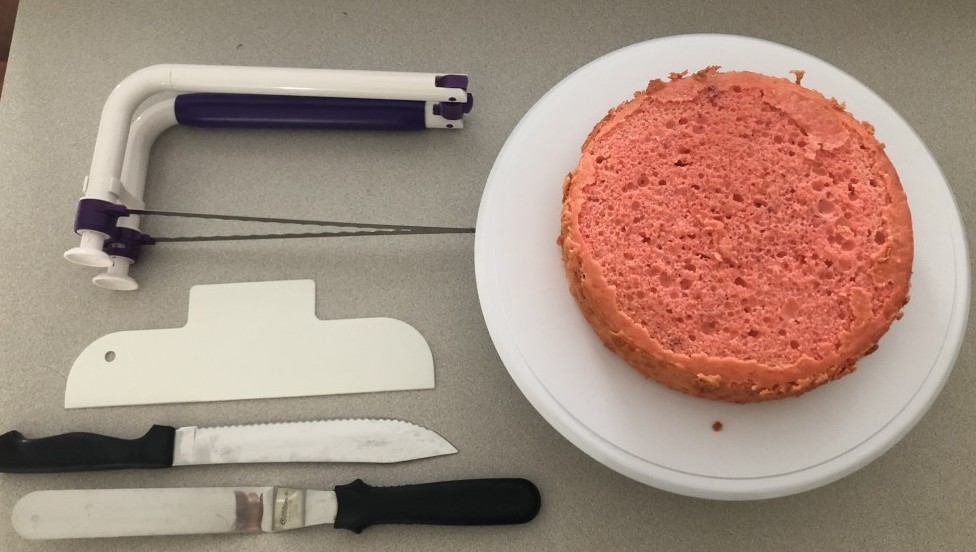
To get started, begin leveling each layer of cake. This will help your cake to be strong enough to handle all of the decorations that will go on the exterior of the cake. After leveling the cake, you can add simple syrup to your cake to add more moisture back into the cake. But if your cake is already moist then it would be best to not add any simple syrup to the cake because it could cause your cake to become too soft and not strong enough for fondant.
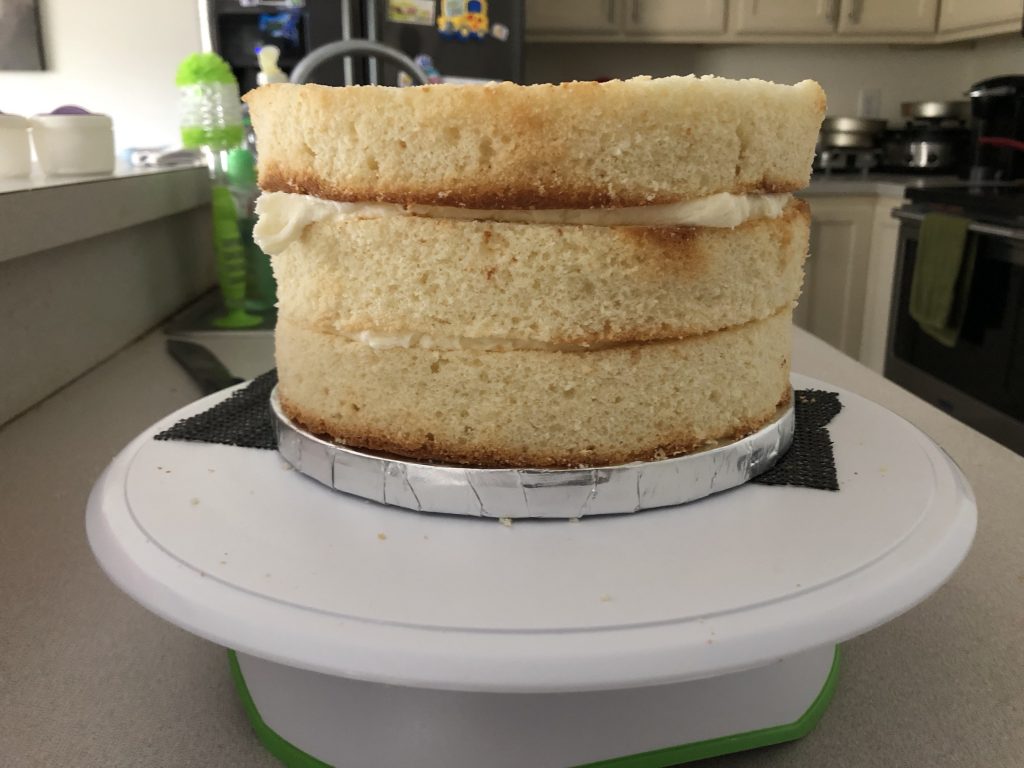
After the simple syrup has been added to each layer now you can begin filling and stacking the cake. If you will be adding filling to your cake, make sure to place the filling directly into the center of the cake and then pipe out two lines of frosting around the outer edge of the cake. This will help to prevent that filling from spilling out of the cake.
Now that the cake has been filled with your choice of fillings, you can begin crumb coating the cake. This process is very simple, but very important for your cake. It’s basically like a glue that holds the cake together. Once the cake has been crumb coated, place it into the refrigerator to crust over for 30 minutes. After the cake has crusted over, you can begin adding a second layer of frosting or fondant depending on the design of your cake.
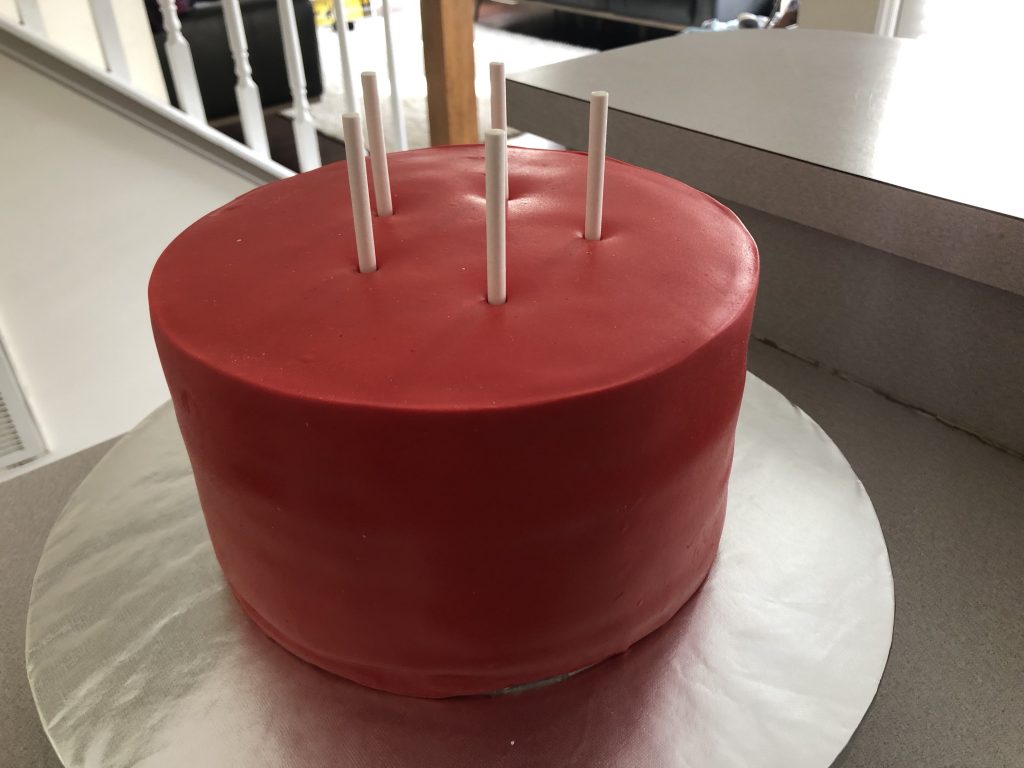
Before stacking your cake, its best to insert the dowels into each tier and to make sure that each cake board has a hole in the center of it so that you can place a large dowel in the middle of the cake, after it has been stacked. This will provide more support and stability for your cake while it is being transported.
Personally, I do not like to deliver wedding cakes already stacked together, just incase of something happening to the cake. I usually transport the cakes that I make in separate boxes, just to avoid and issues with the cake being destroyed. But everyone has a different process for delivering cakes that works best for them. Whatever that process maybe, it’s best to stick to it, especially if it works %100 of the time.
Now that you have covered each tier in your choice of frosting or fondant and have placed dowels into each tier, you can now begin decorating the exterior of the cake. This process is always the best part to me personally, because you get to be creative with the design of your cake.
Practicing using a cake dummy:
If you do not feel comfortable with practicing with an actual cake initially, you can also practice using a cake dummy. Cake dummies are absolutely your best friend when you are a beginner at working with cakes. Cake dummies will help you to learn how to design your cake. But in order for a cake to look professionally made, you will have to gain as much practice as you can with an actual cake.
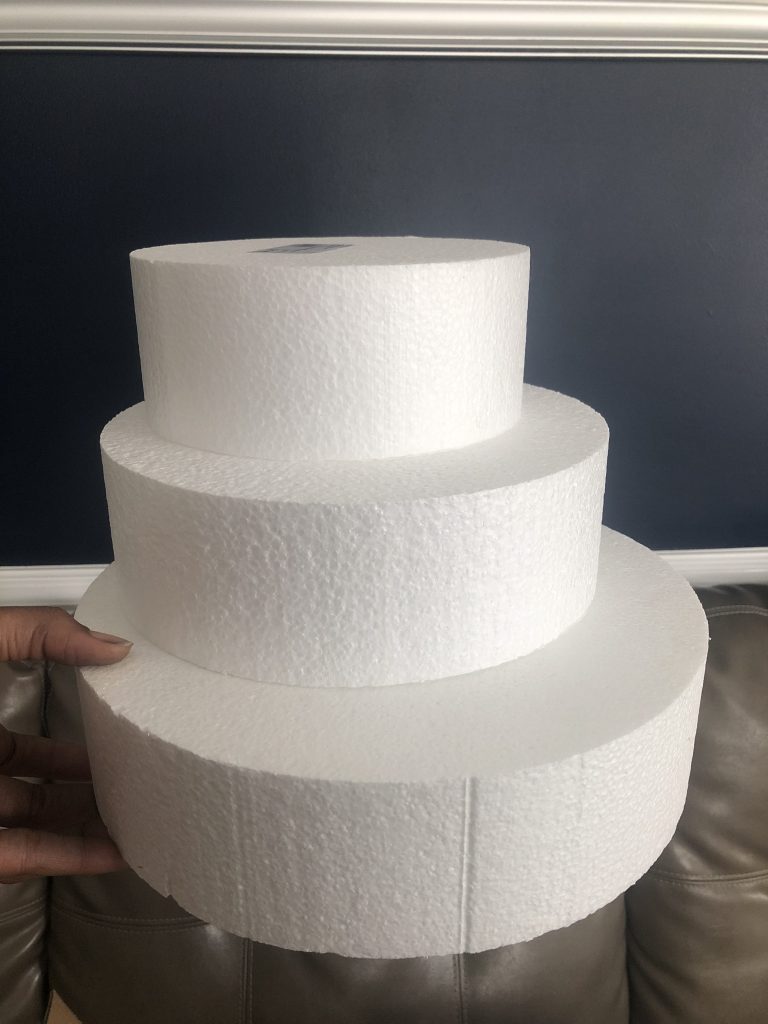
Working with an actual cake is much more different than working with a cake dummy because an actual cake will not be as firm as a cake dummy, it will have gases that release from the cake that may cause air bubbles under the frosting or fondant, if a cake is cold, it will cause your fondant to become difficult to work with, and etc.
Therefore it’s best to practice using a cake dummy to create the design of your cake and then begin practicing with an actual cake, so that you will have an idea of what and what not to do on your cake.
Storing your wedding cake in advance:
Since you will be making your own wedding cake, it’s best to prepare your cake at least 1 week advance. Also, keep in mind that the flavor of the frosting that you will be using on your cake, will determine how far in advance you can prepare your cake. For example, some frostings such as Swiss buttercream, cream cheese frosting and other frostings that are used with ingredients that have a short shelf life, may not be able to be prepared far in advance.
To store your cake, simply wrap the cake with cling wrap securely to prevent any air from entering into the cake. This will help to preserve the freshness of the cake. After you have securely wrapped the cake in cling wrap, place it into the freezer to store.
To defrost the cake, place it into the refrigerator 24 hours before the wedding. After the cake has completely thawed out in the refrigerator, you can then set the cake up at the venue at least 1 hour before the event to allow the cake to warm up to room temperature (only if the venue is indoors). If the venue will be outdoors, it will be best to set up the cake 30 minutes before the venue begins.
Practice, Practice, Practice!
Now that you have learned the process of making a wedding cake, now you can begin practicing months before your wedding date. By they time your wedding arrives, you will definitely be a pro at making cakes and your wedding cake will look fabulous!