
There are so many awesome tips to try in the cake decorating world to successfully release a cake from a pan. You can try using all vegetable shortening to grease your pan while using flour to dust the pan, cake release spray, or parchment paper as well. All of those techniques are great for preventing a cake from sticking to the pan.
But what happens if you forget a step while preparing your cake pans, or forget to grease the pan altogether? No need to panic, there’s several things that you can do in order to save a cake thats stuck to the pan.
In the past I tried my hardest to prevent this from happening but when you’re under a lot of stress, anything can happen. So no need to toss a cake that’s stuck in the pan, there’s ways to get it out and even if you can’t get it out, you can still make use of that cake.
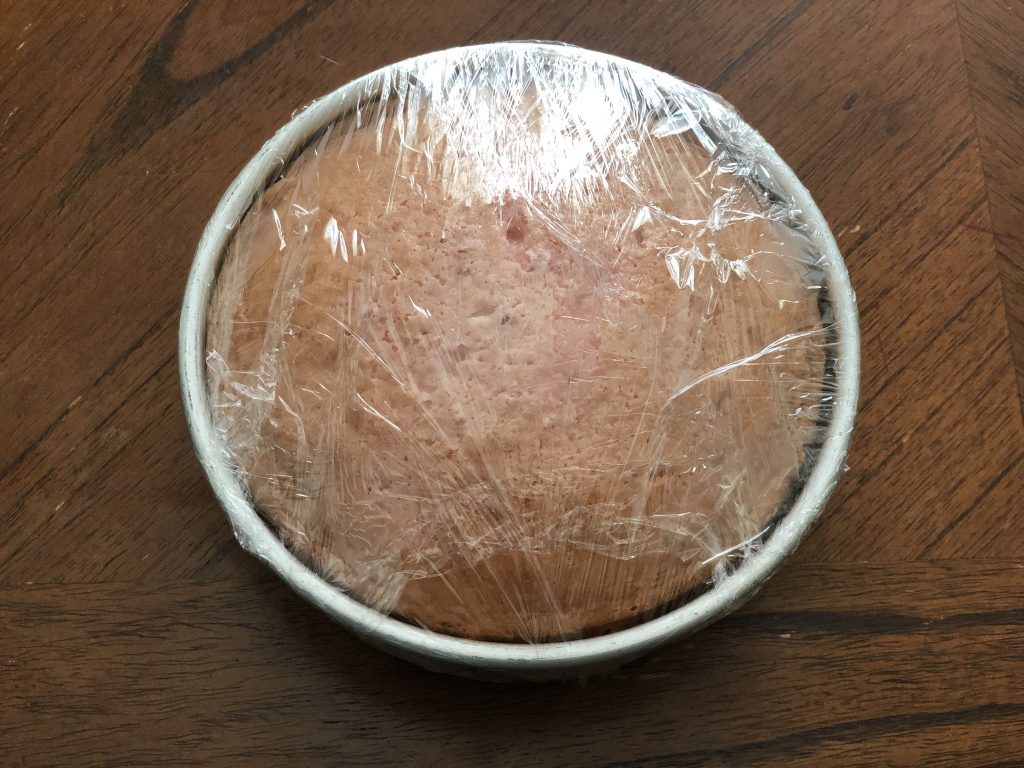
Tip 1: Freezing Method
Allow the cake to cool to room temperature and then wrap the cake in the cake pan with plastic wrap. Place the cake into the freezer for up to 7 hours. Once the cake is frozen you will use a thin icing spatula to go around the edges of the cake inside the pan.
This will help to loosen up the cake around the edges. Once the edges are release you will use the same thin icing spatula to lift the cake up from the pan. Please slowly inch your way around the cake pan sliding the icing spatula in and out from up under the cake. This will prevent the cake from breaking apart once its fully released from the pan.
Once you get all around, flip the cake pan over and tap it against the countertop. The cake should then release from the pan. This tip is very easy and its less harm to your cake as well.
Tip 2: Hot Water Method
To try the hot water method, pour hot water into a deep square pan and place the cake pan into the water for at least 15-20 minutes.
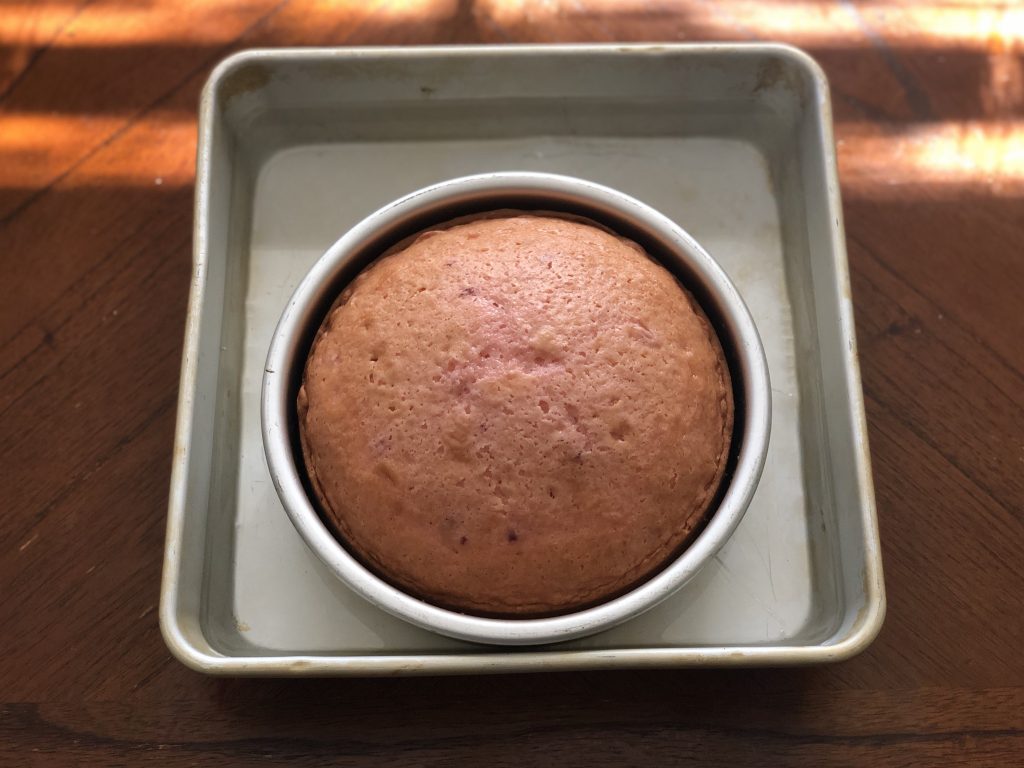
Make sure that the water is half way up the pan because if you add too much water into the pan it will spill into the cake as you sit the cake pan into the large square pan. The steam from the hot water will add moisture back into the cake pan which will help it to release from the pan much easier.
Tip 3: The Ice Method
To try this method, flip over the cake pan and get a separate bowl or plastic bag to fill with ice. Place the bowl or bag of ice on top of the cake pan for at least 30 minutes.
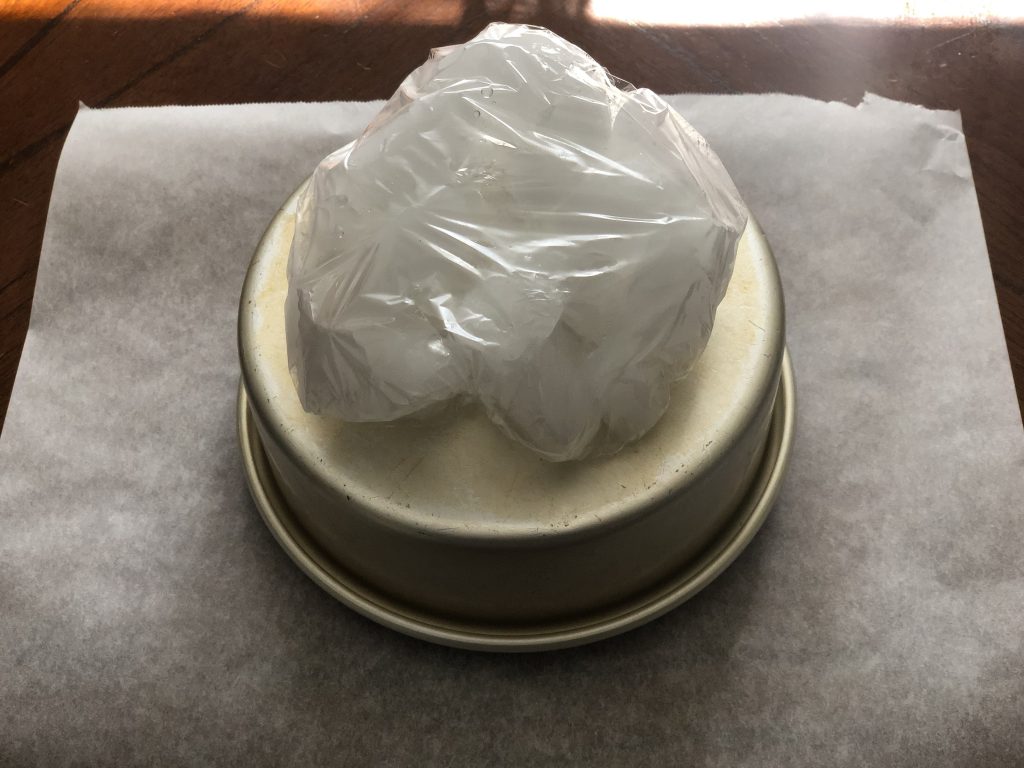
This technique will allow your cake to harden enough so that you can then use an icing spatula to lift the cake out of the pan. Remember to work your way around the inside of the cake pan using the icing spatula so that you do not tear into the cake.
Tip 4: Serve the cake from the Pan
If the first tip doesn’t work, you can always ice the cake and serve it from the pan. You can also pre-slice it and place each slice into a clear plastic cake slice container to serve for later.
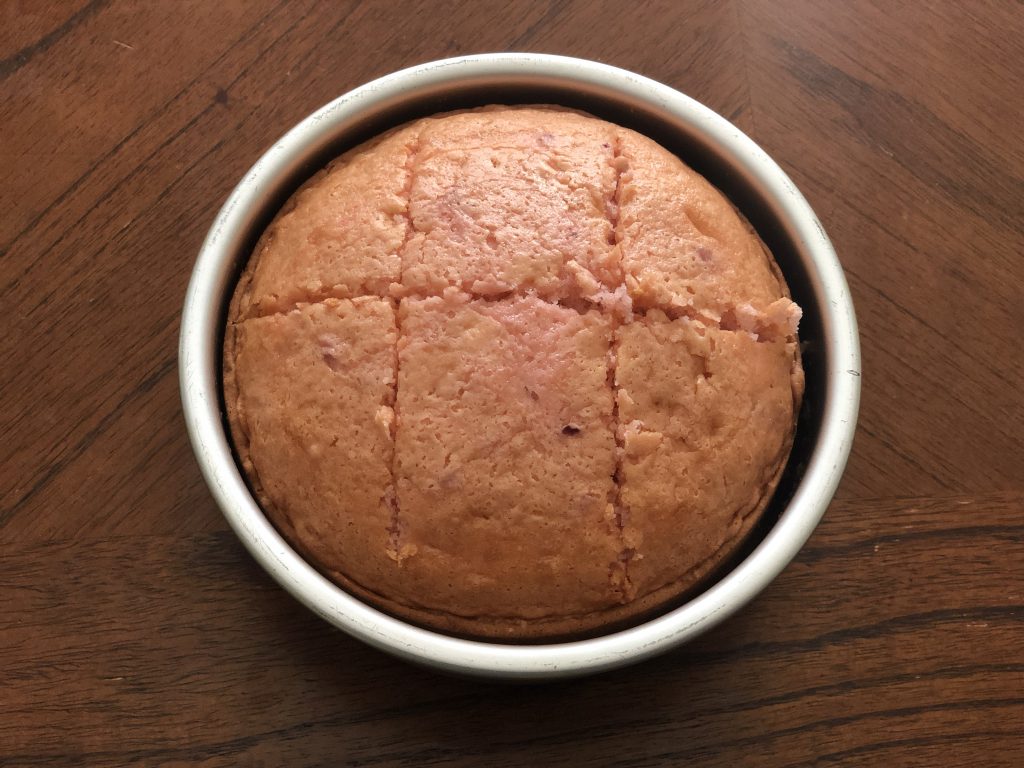
Tip 5: Pre-Slicing the cake
You can slice the cake into squares, even if its a round cake, and remove each slice from the pan to decorate. You can add icing or whipped cream to top off with fresh fruit.
You can also use those same slices of cake to make dessert cups such as strawberry shortcake, pineapple coconut cake, cookies and cream, and much more.
Tip 6: Making Cake Pops
If the cake will not release after you’ve tried everything, you can use that cake to make cake pops. Cake pops are absolutely cool to make and will go well with any event.

You can mold them into any shape or figure in order to go with the design of the event. Cake pops are also very easy to make, and do not require a lot of work. But if you have a really intricate design then they can become very tedious to make.
Yay, you’ve just learned how to remove a cake that was stuck in the pan! But, how can it be be fixed and ready for use?………..
After removing your cake from the pan, you may notice that it’s a darker color on the outside as if it was burnt. No need to stress because there’s a trick for that as well!
Trick 1: Carving the Cake
You can remove the burnt sides and bottom of the cake by flipping the cake over and begin slicing a very thin layer off the bottom and around the sides of the cake.
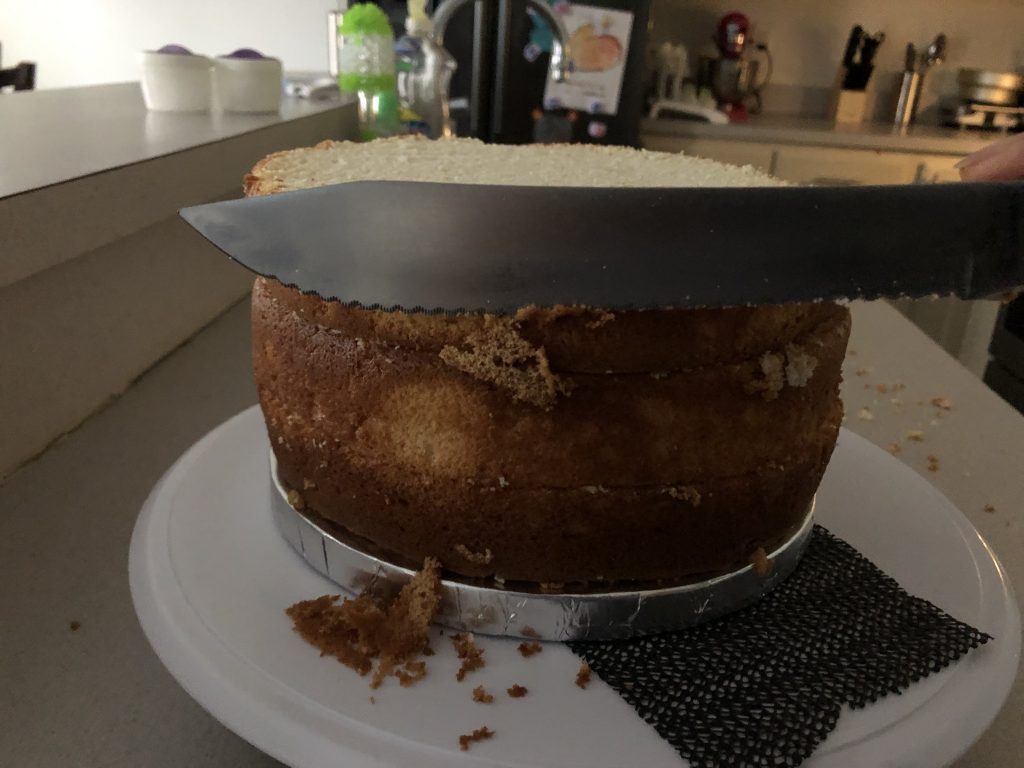
This will help you to get rid of that burnt taste on your cake.
Trick 2: Filling in the empty Pockets of Cake
If your cake has spots where the cake crumbled while you were removing it from the pan, you can take those same crumbs that were torn off of the cake and add them back to the cake. To add those pieces back to the cake, use a small amount of frosting to use as glue, in piecing them together again.
Trick 3: Crumb Coating the Cake
After using trick 1 and 2, you can then fill in the rest of those empty pockets of cake with frosting or ganache. The frosting or ganache will act as filler for the cake, creating those smooth surfaces.
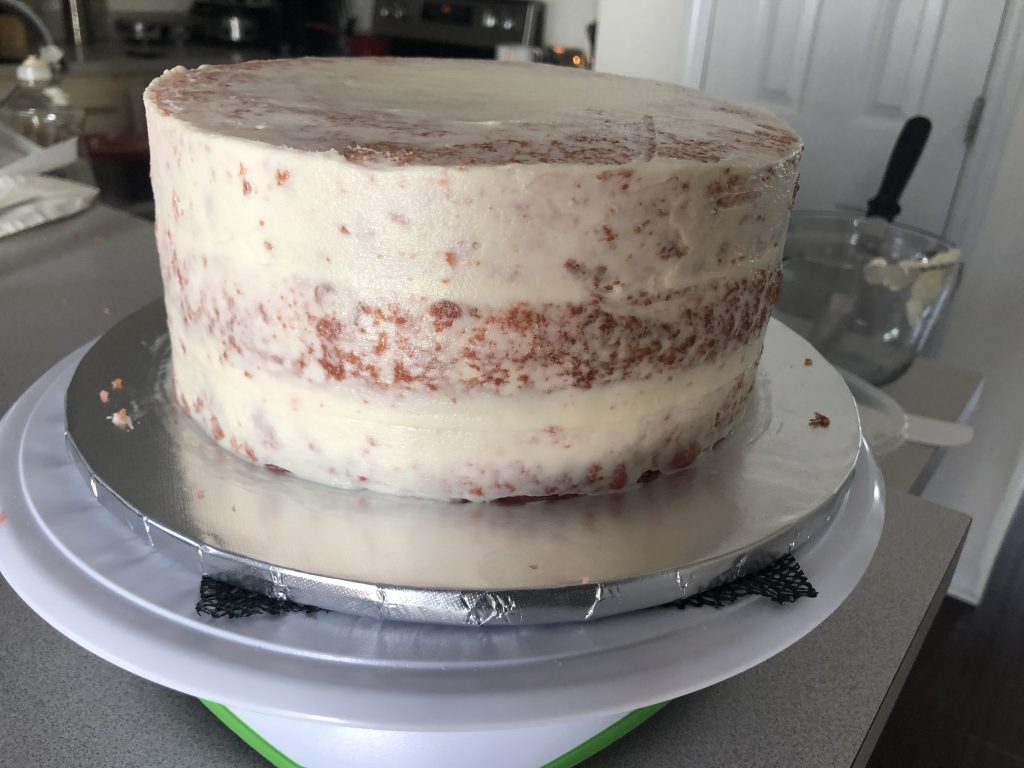
At this point you can then crumb coat the cake to cover in fondant or add a second layer of frosting or ganache to the cake to decorate.
Always keep this in mind………
There’s so many things that can go wrong, when it comes to baking a decorating a cake. In fact, it can be pretty intimidating at times, especially if you are new to decorating cakes.
But always keep in mind that there’s a solution to every mistake made in the kitchen. The actual cake is like the foundation on a house, and no matter that age of the house or condition of the foundation, it can always be fixed like new as well as your cake.